Delicious Homemade Blackberry Wine Recipe in 4 Easy Steps
My childhood was spent with purple-stained fingertips, and blackberry season still conjures up all sorts of happy memories today.
But while the blackberries of my childhood were used to make jams and pies, these days I am much more likely to make home-made blackberry wine.
Stay tuned for a blackberry wine recipe that will blow your mind!
Equipment
A good set of wine-making equipment should last season after season. Here are the key items you need to find before you begin:
- A sterilized brew bin, or a food grade basin which has a capacity of at least two gallons.
It is worth bearing in mind that blackberry wine will stain plastic containers, so you may wish to reserve this brew bin for the exclusive use of blackberries.
If so, feel free to save your money and buy a dollar-store version instead, then throw it out once you’ve bottled your wine.
- 2 GLASS (not plastic) demijohns (at least one gallon in size), plus an airlock and bung
- A large straining bag or a pack of fine-mesh muslin bags
- A plastic syphon tube (at least 3ft long)
- 6 wine bottles, either screw top or with a cork and Portuguese corker.
Ingredients
- 4.5lbs (2kg) fresh blackberries, or two quarts of blackberry puree.
- 1 tsp pectic enzyme (sometimes known as pectolase)
- 1 tsp yeast nutrient
- Campden tablets
- Red wine yeast
- 3lbs (1.5kg) granulated sugar
A Special Note on Red Wine Yeast
Try to find red wine yeast (as opposed to regular wine yeast) as it will really add to the rich color of your wine, and help you to obtain a fuller taste.
Follow the instructions on the label to find out what quantity you need for your wine – the quantity and preparation methods can differ from brand to brand.
Our Blackberry Wine Recipe
STEP ONE – Identifying your blackberries
Most of us would be able to identify a blackberry if it was sitting on a plate in front of us. But it might be a different story in the wild.
If you’re an experienced blackberry picker, you can probably ignore this section and move on to step two.
You can also ignore this section if you plan to forage for blackberries in the fruit aisle of your local supermarket. Otherwise, read on…
You will find blackberries just about anywhere, but some locations are better than others.
Avoid blackberries which grow along the side of the road, or berries which are within ‘watering’ distance of passing dogs and cats.
The best berries tend to be found growing in hedgerows across the country – the more rural, the better.
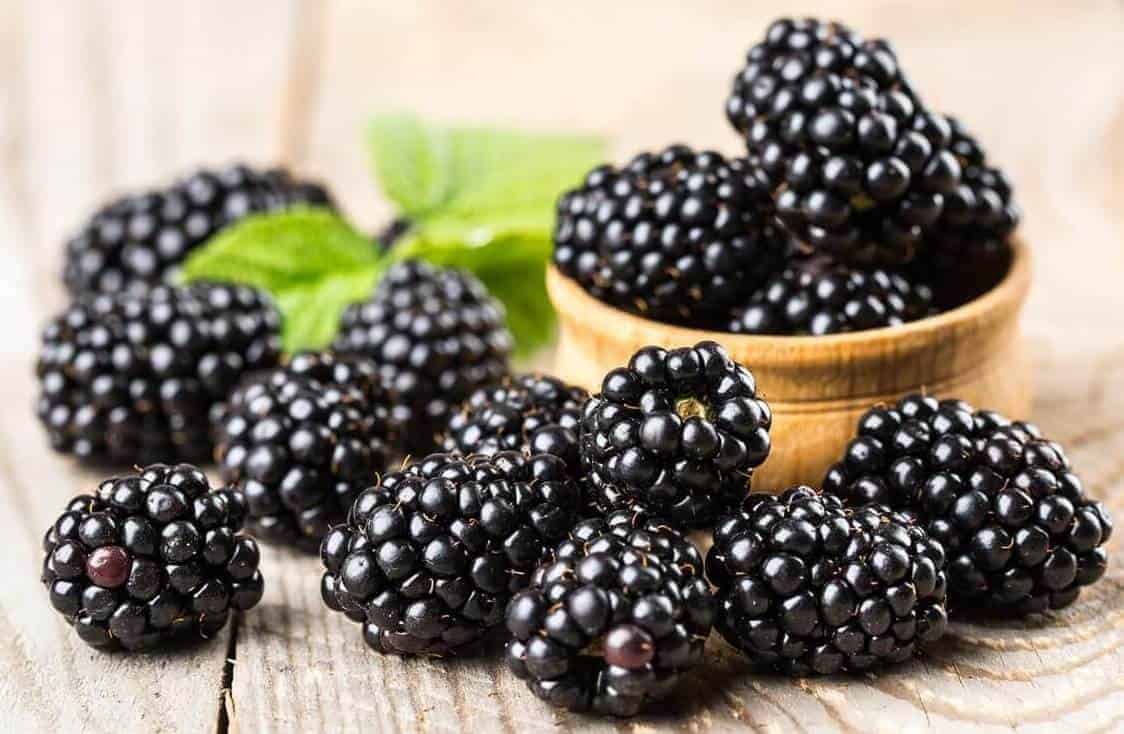
Luckily, blackberries aren’t hard to spot – the ripe berries look like shiny jewels among the green and brown hedges and brambles around them.
The fruit hangs from thorny branches in small groups, although the berries may ripen at different times.
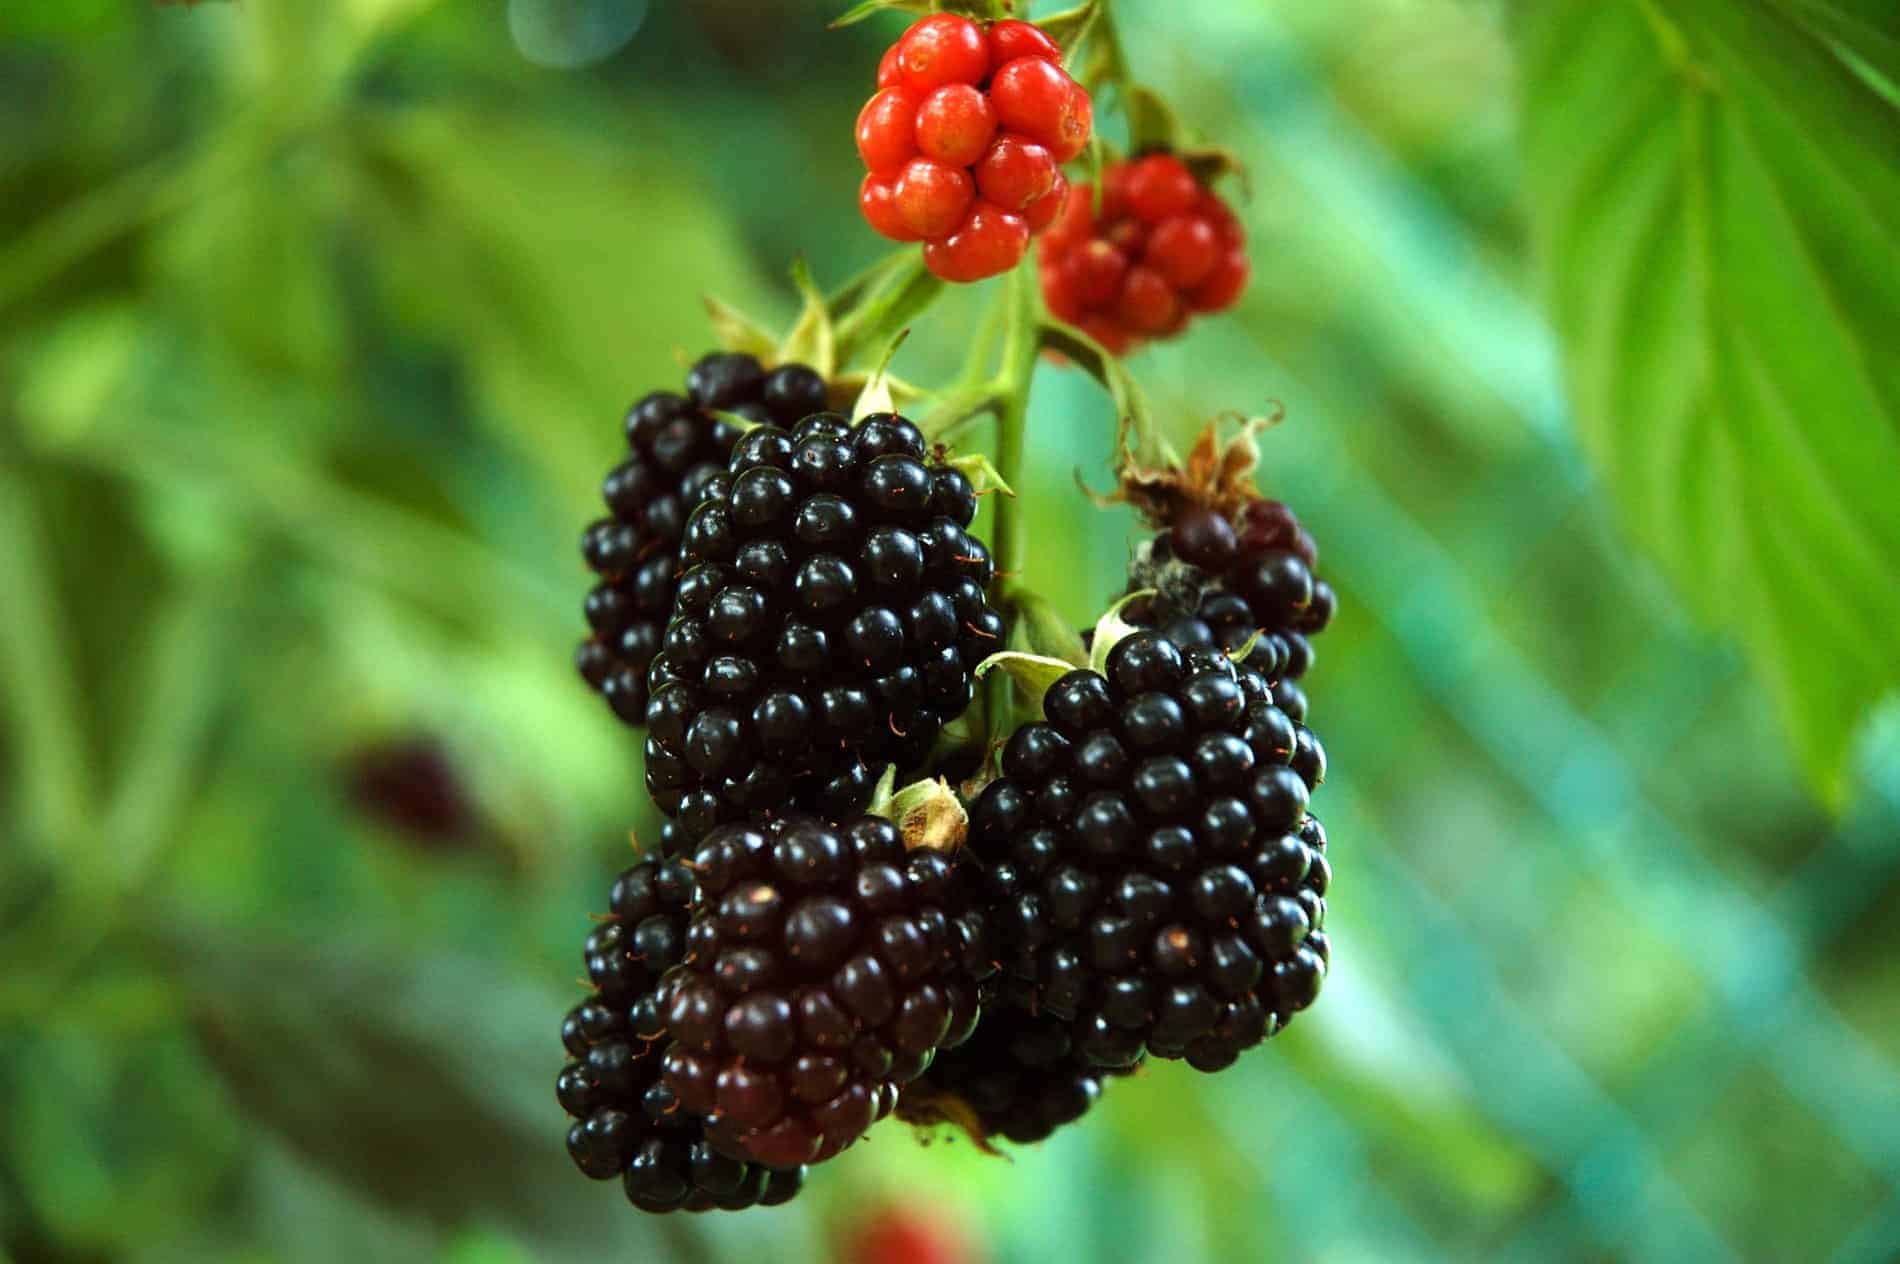
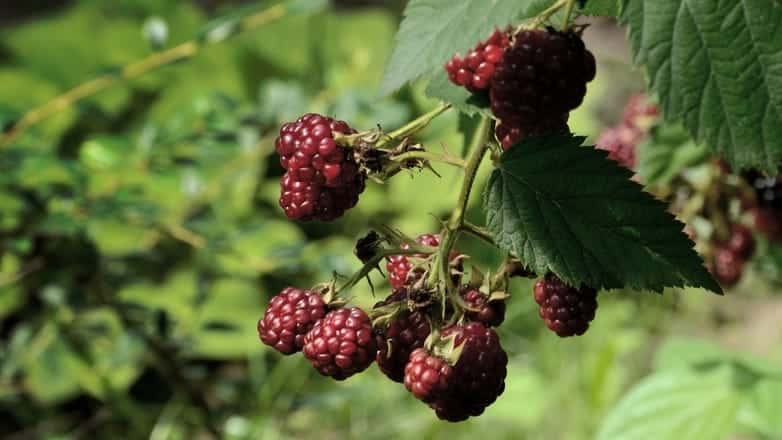
Before the fruit appears, you will notice delicate little white-petaled flowers forming on the brambles. When these disappear, they will give way to red berries which look a little bit like small raspberries. Do not pick these – they are hard as nuts and so bitter they will make you sick.
Instead, wait a few more weeks until the red berries fatten up and turn a dark shade of purple. Then they are ready to be harvested
Only pick ripe blackberries, and discard any berries which turn to mush in your hands – they might contaminate the rest of your batch if you throw them in your basket with the other ‘good’ berries.
When the berries start to shrivel up on the branches, blackberry season is over.
PRO TIP: Once upon a time, blackberry juice was used to dye clothes vivid shades of purple and pink, and whether you like it or not, it continues to provide this service today, free of charge!
If you arrive home with blackberry-spattered clothing and stained skin, don’t panic. Just soak your clothes in white vinegar (any type) for at least 30 minutes, then wash as usual – the stains will come right out.
For purple hands, cut a lemon into half and rub the cut side all over your hands, then wash with soap.
STEP TWO – Collecting the blackberries
There is a famous poem by Nobel-winning writer Seamus Heaney which begins:
“Late August, given heavy rain and sun
For a full week, the blackberries would ripen.”
- Blackberry Picking, Seamus Heaney
I repeat these lines to myself towards the end of summertime, as a reminder that blackberry season is upon us.
In reality, blackberries can start appearing as early as July, and depending on the weather, they can persevere until early November.
Check the buds of the bramble bushes and once you’ve spotted the first few berries emerging, wait for a run of sunny days before you start picking them. If you can pick them on a sunny day, all the better – especially for larger varieties such as the ‘tupi’ (which is native to Mexico and Oregon).
Some people swear that the berries taste better after the ‘first frost’ of the year, but if you’re superstitious, you should try to collect your berries before Old Michelmas Day (11 October).
According to British folklore, this is the day that the devil strikes, spitting or fouling on the blackberry thickets so they are not fit to eat.
As with many myths, there is a little bit of reason to this – the longer the berries remain on the bushes, the more susceptible they are to worms, germs, pollution and other forms of contamination, so it’s best not to wait too long before you go out berry picking.

There are actually more than 2000 different species of blackberry worldwide, some of which are better than others. There’s an easy way to test the quality of your local blackberries – taste them!
For good blackberry wine, you are looking for a sweet, juicy, dark berry. If your berries are a little bitter, just add an extra 3.5oz (100g) of sugar. If they are light in color, you can add a handful of elderberries or red grape juice to increase the depth of flavor and tannin levels.
Blackberries are probably the most popular fruit in the countryside, and whether you like it or not, you will be competing with hundreds of other seasonal foragers to find the best ones.
My advice is that once you find a great local stash of fat, juicy berries – don’t tell anyone. Unless of course, they happen to be on someone else’s land, in which case you should probably let the landowner know that you’re there (especially if he’s handy with a rifle).
It’s important to be well prepared before you set out on a blackberry picking expedition.
Blackberries grow in hedges and, in the countryside, hedges grow by ditches. A decent pair of wellington boots will protect your feet from the wet and the mud so you can get as close as possible to your bounty.
Blackberry bushes are well protected by thick stems covered in sharp thorns, so bring a thick gardening glove which you can use to grasp the stem while you pick the berries with your free hand.
Berry season just so happens to coincide with nettle season, and in the countryside wild nettles can grow more than 6ft high! Nettles love to hang out with blackberries, so to avoid being stung, make sure you cover your wrists, arms, and legs with a tough material like leather or denim. If you do get stung, search for a dock leaf nearby and rub it on the affected area for instant relief.
Sometimes, the very best berries are tantalizingly out of reach so the only option is to cut them off. Blackberry stems are very thick, so a regular pair of scissors just won’t cut it - literally. Instead, take a pair of secateurs or hedge trimmers for emergencies.
It’s always better to have too many buckets then not enough – if you find a good thicket you could end up with 20lbs (8kg) worth of berries, or more! Don’t worry about your bucket being scrupulously clean – we’ll deal with that in the next section.

STEP THREE – Preparing your blackberries
You want to minimize the amount of time between picking the berries and making the wine, but don’t panic too much about this - it’s more important to ensure that you clean the berries thoroughly.
Don’t worry too much about looking for pests while you’re picking your berries – no matter how fastidious you are, you will still find a few creepy crawlies rummaging around your bucket once you get them home.
Like any wild fruits, blackberries can host a number of different larvae, weevils and microscopic bugs. Most of these pests prefer over-ripe or slightly rotten fruit, but some creatures such as birds, caterpillars and the dreaded vinegar fly can ruin otherwise perfect blackberries.
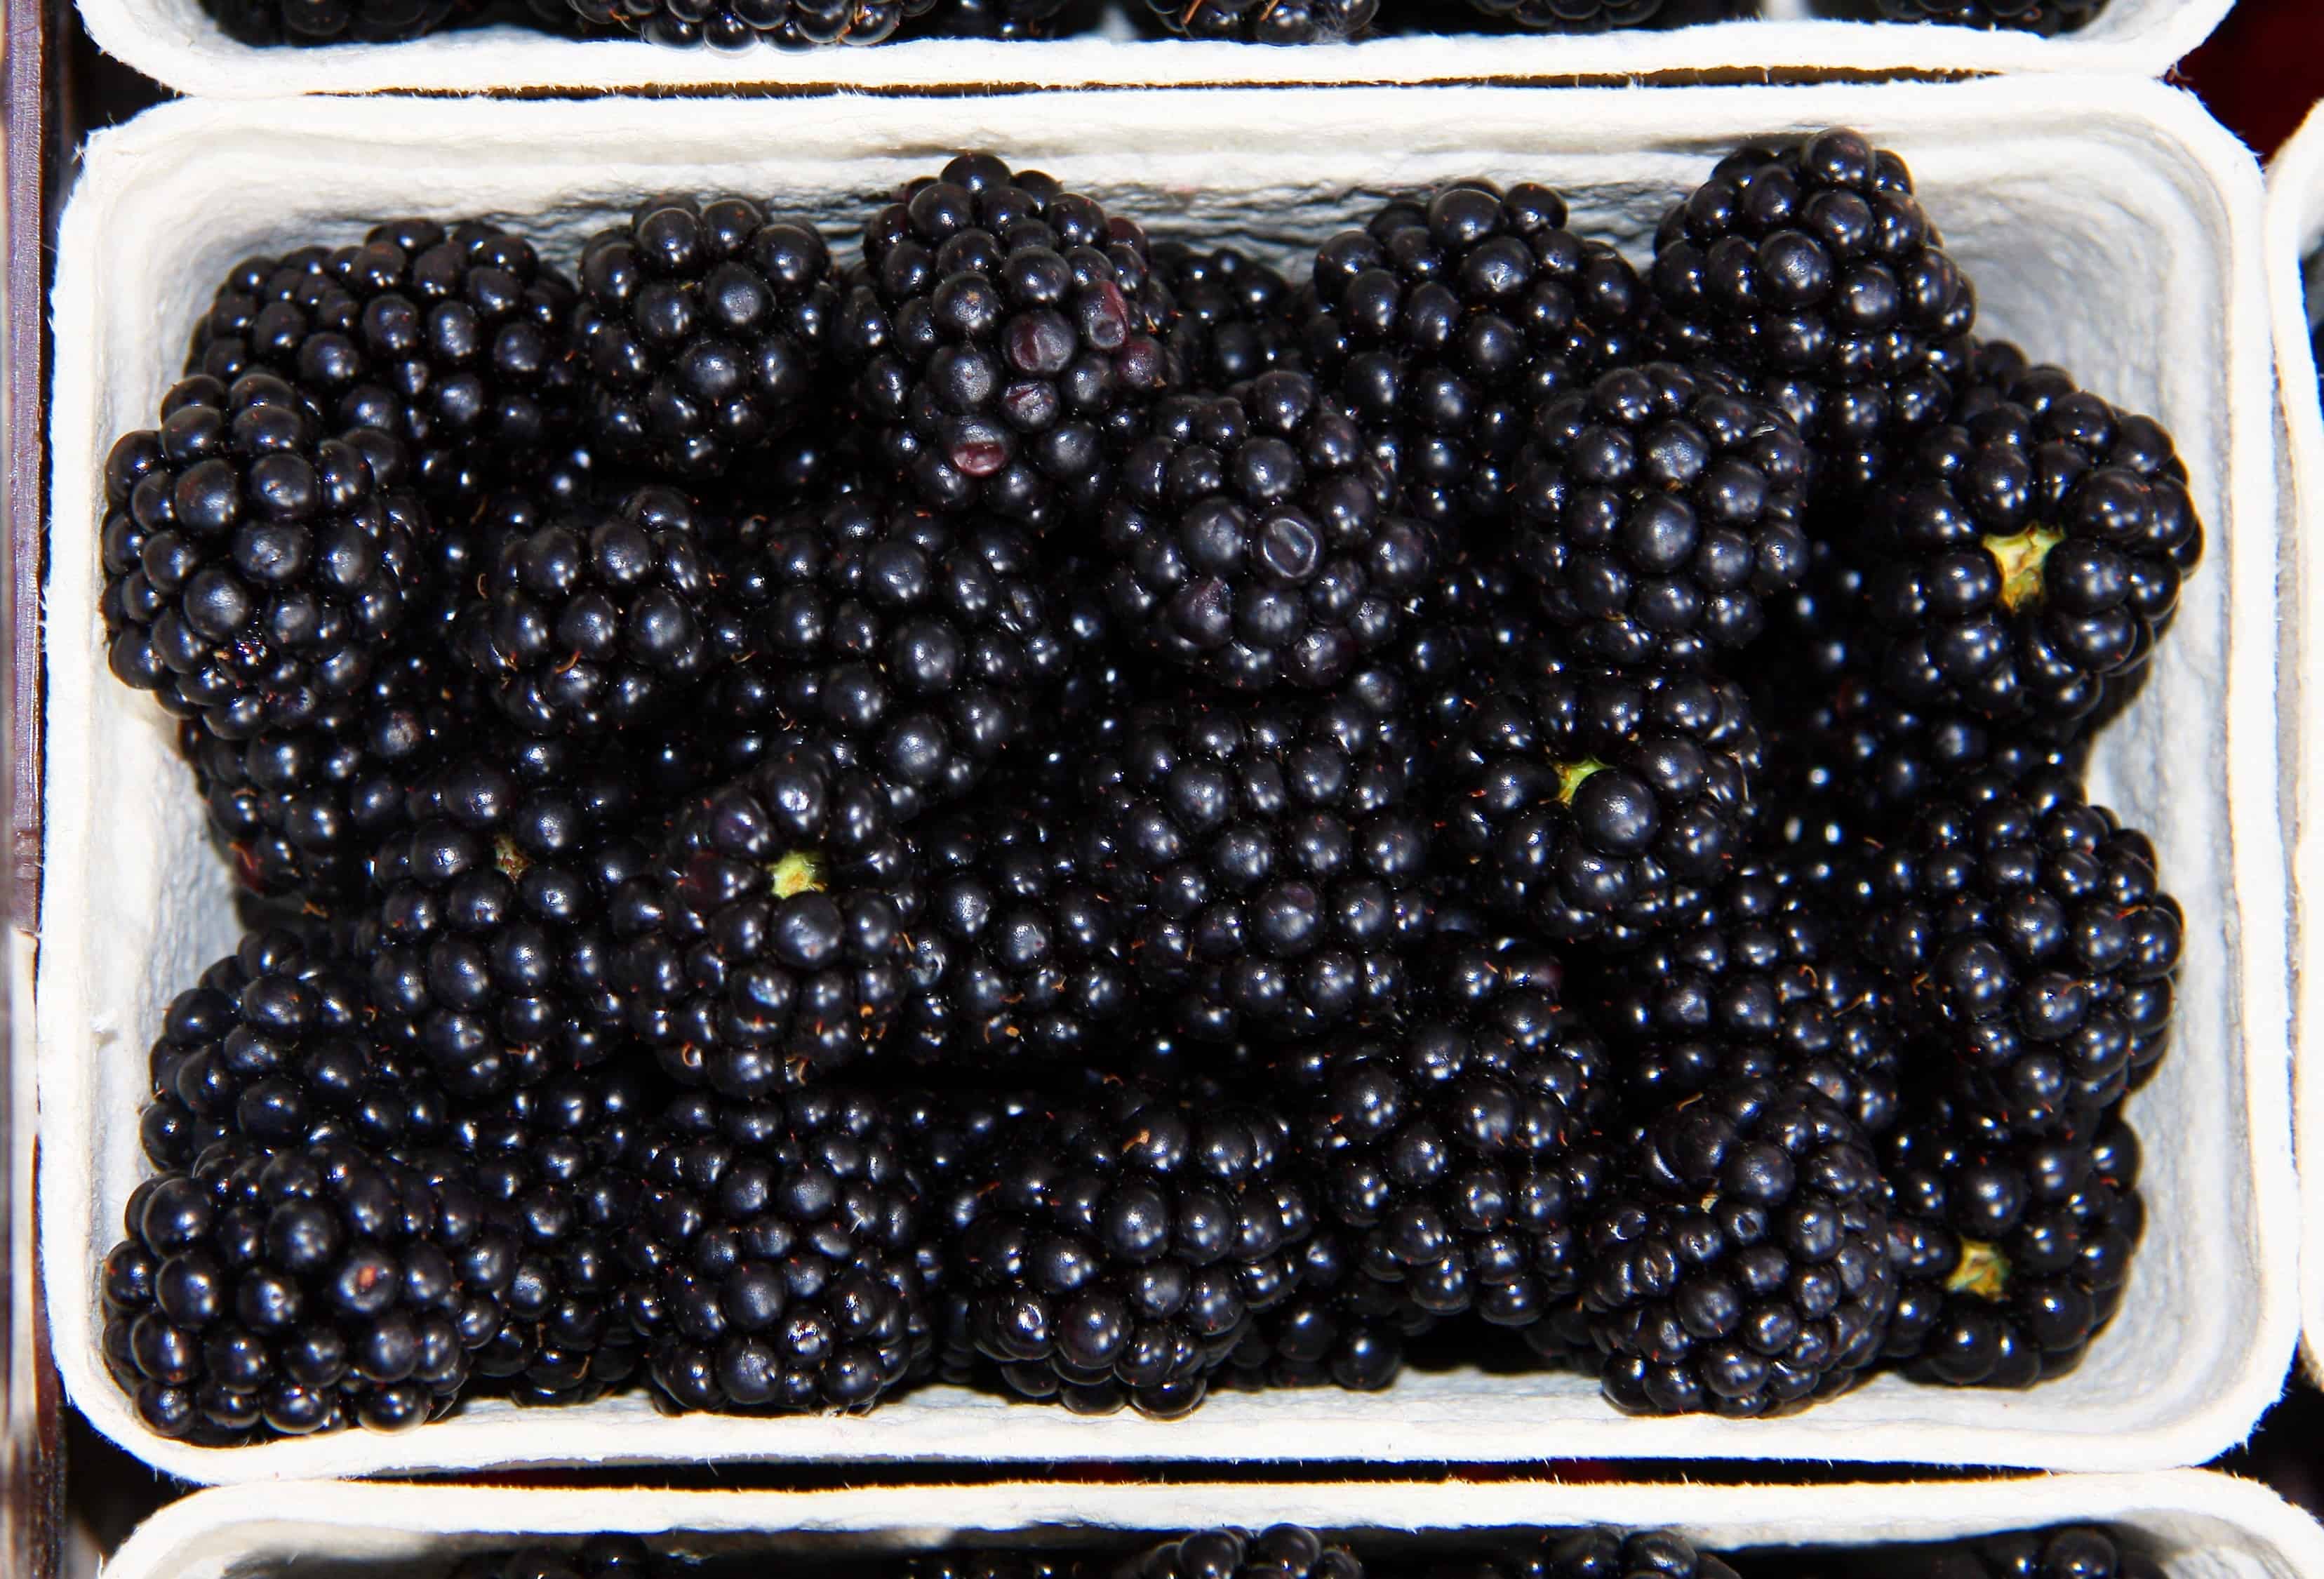
Discard any berries which are starting to go mushy, or any hard little berries which haven’t properly ripened. Then soak the blackberries in cold water for ten minutes or so, to release any stubborn little bugs. They should float to the surface of the water, so you can just skim them off and discard them.
Once clean, weigh out 4.5lbs (2kgs) of berries, crush them gently to release some of the juices and place them into your (sterilized) brew bin or food grade basin. You can use any leftover berries to make a delicious homemade jam, jelly or chutney, or bake a classic apple and blackberry pie. Blackberries freeze very well, so you could happily save a few pounds to use later in the year.

STEP FOUR – Getting started
Now you should have a bucket full of slightly crushed berries. Pour 2 pints (1.1 liters) of boiling hot water over the top of the berries and stir it slightly to release even more of the berry juice. The boiling water will act as a sterilizer, killing off any lingering bugs or dirt in the fruit.
Once the water has cooled down, add one teaspoon of pectic enzyme, and stir it in well. Then cover the brew bin securely and leave the contents to soak overnight (or for at least 12 hours).
The next morning, boil 2.5 pints (1.4 liters) of water in a pot and dissolve the sugar into it, stirring constantly. Pour the sugar water over the blackberries and stir.
Once the water has cooled down, we want to add Campden tablets or an alternative sulfite like sodium metabisulfite. This is to further stabilize our must and prevent anything unwanted from affecting our fermentation.
For wines made from fresh fruits, I advise using one Campden tablet for every gallon prior to the fermentation process (for winemaking using pre-made fruit concentrate you can skip this).
Keep your bucket unsealed during this time as the Campden tablets will release sulphur dioxide gas. You can cover it with cloth or mesh to prevent bugs getting inside.
It's really important that you then wait 24 hours before introducing the wine yeast, as the Campden tablets can affect the yeast too.
After a full day, add the wine yeast and the yeast nutrient, and stir.
Cover your brew bin, and leave it in a warm, dark place for four or five days, stirring it every day. The optimum temperature for fermentation is 75F (21C), but as long as your wine mix doesn’t get too cold you should be OK.
STEP FIVE – Liquid goodness
The brewing process will break down the berries, leaving you with a potent blackberry liquid.
Check the mixture after four days of fermenting in the brew bin and if it still has a mushy, jam-like consistency, leave it for another day or two. The looser your liquid, the more flavor you will get out of the finished product.
When you are happy with the consistency, it’s time to start straining! Stretch your straining bag or muslin bag over a large saucepan or another sterilized basin, and start pouring the blackberry liquid in.
To avoid losing any precious liquid, I would also place my straining bag over a colander, so that any splashes are caught.
Once your straining bag is full, a good squeeze so that you get as much juice as possible out of your berries. This process removes all the tiny blackberry seeds and sediment from your wine, but if you notice any errant ‘bits’ in the strained liquid, repeat this process another one or two times, until you are happy with the clear purple liquid you are left with.
Now you just need to get your wine into one of the demijohns – you may want to call a friend in for this bit… I find that the easiest way to get as much wine as possible from the brew bin to the demijohn is by using a large funnel, and getting a friend to hold the demijohn securely in place. Work slowly and carefully – you’ve worked so hard to get to this stage, so you really don’t want to deal with a spillage now.
If you don’t have enough liquid to fill the demijohn right up to the top, just add a splash of bottled or filtered water.
Add the rubber bung, and tap it a few times with a hammer to make sure it fits as tightly as possible, then push the airlock into the top, and you’re done! Well, for a few weeks anyway…
Leave the demijohn in a dark place at approximately 75F (21C), and leave it there to ferment for six weeks.
STEP SIX – Rack it off!
After six weeks of fermenting, your wine will be well on its way. You will probably find that there is a bit of dark sediment in the bottom of your demijohn, and the top half of your wine may look a bit lighter in color to the bottom half – this is all normal.
This next stage will ‘rack’ your wine to remove any sediment and yeast solids which have dropped to the bottom of the demijohn during fermentation process. You’ll need your (properly sterilized) syphon and second demijohn for this bit, plus a flat surface at around hip-height (e.g. a table or a chair.
The racking process for blackberry wine is the same as any other wine-racking process. Take a look at the point-by-point guide which we have listed in our elderflower wine recipe, and you’ll be all set.
NOTE - Blackberry wine tends to collect a little more sediment than other homemade wines because as well as the juice inside the fruit, you have the tiny seeds, microscopic hairs, and the thin layer of skin over each little round on the berry.
That means you should be extra careful with your racking, and you may end up with a demijohn that isn’t quite full. Just top it up with a splash of bottled water, mixed with a tablespoonful or two of sugar syrup just after the racking stage.
When you’ve finished with the racking process, just put the bung and airlock onto the top of the new demijohn, and store the wine in a dark, cool place for at least two weeks.
STEP SEVEN – Bottling up!
Wine gets ‘drier’ the longer it sits. The French and Swiss prefer their blackberry wine to be a bit sweet, so if you’re aiming for that après ski feeling, you should start bottling within 2-4 weeks of the racking stage. Keep tasting the wine until you get a flavor that you can be proud of.
And if it’s just not sweet enough for your taste buds within two weeks of the racking, you can add a non-fermenting wine sweetener such as concentrated red grape juice, or sugar syrup.
For a dry wine you can wait a bit longer, but try not to leave your wine for more than 8 weeks at this stage, as it may start to take on a slightly acidic taste after that.
The final recommended use of Campden tablets is just before the bottling stage to ensure the wine remains unspoiled. Again, the standard dosage is one tablet per gallon.
Before you bottle up your wine, you have to rack it one more time. You should have sterilized your other demijohn and your syphon by now, so whip them out and repeat the racking process as before. You should be left with a liquid that resembles a good Beaujolais – purply-pink, and semi-opaque.
When you’ve finished your second rack, you can start filling the bottles! Place the demijohn on a flat table top and the bottles on the ground below, then use your syphon tube to coax the wine out of the demijohn and into the bottles. You might want to lay down a towel at this stage, as even the most attentive bottlers will have a spillage or two during this stage.
Use your corker to tightly seal each bottle, and that’s it!
Don’t forget to label each bottle with the bottling date and contents – maybe with a blackberry-stained handprint!
Give your wine a few more weeks to ripen before you open the first bottle - as a general rule, the longer you leave it, the better your flavor will be. If you collect your blackberries in late August, you should be bottling your wine before Halloween.
That means that your blackberry batch will be ready for drinking by the time the first snowflakes fall from the sky. Why not toast to the turning of the seasons by raising a glass of summer’s wine on a dark winter’s evening.
Towards Christmas, you can make a mean alternative to mulled wine with warm blackberry wine, heated with a stick of cinnamon, star anise, a quartered apple, and a handful of the leftover berries in your freezer. Santa would approve!
Share your recipes and serving suggestions in the comments below, and let us know how you got on with your first batch of blackberry wine.
Recommended: Don't miss our amazing homemade muscadine wine recipe.
Conclusion
If this tutorial has made you thirsty for a glass of fruity blackberry wine, then I have some bad news - you can’t buy it in your local liquor store. If you want to enjoy the complex, warming goodness of a rich blackberry wine, you’re just going to have to make it yourself!
The good news is that it is a lot easier than you think, just as long as you have a few pieces of equipment, a kick-ass recipe, and a helping hand from Mother Nature.
Once you’ve started, you will have all the tools you need to expand your wine empire season after season, using a massive selection of fruits, herbs, flowers and even vegetables.
Leave any feedback in the comments below, and if you like this article, please feel free to share it with all your drinking buddies!
I just want you to know I have been drinking blackberry wine for years. And I get it at my local liquor store right here in CT.
You have campden tablets in the first paragraph of the recipe, but you never indicate how you use them. Are you adding them before you add the yeast? Are you adding them after it’s done fermenting? Are you adding them when you bottle?
You add them when you rack off your wine to the second demijohn.
I’m now in first week of six fermenting. When I go to rack my gallon can you advise how many Campden tablets I should use? Many thanks, Tom
would 1/2 gal glass growler bottles work for as an acceptable demijohn for fermentation? I ask because I have a lot of them, and would like to find a good use.
Hi Danen! Thanks for stopping by. I can’t say I’ve tried before but I don’t see why it wouldn’t work. It should be fine!
I know nothing about making wine however our blackberries patches (wild) are growing crazy. Are these hard copy books? How many pages? How fast is the delivery of the books? I live in upstate NY!
Hi Kathy, no these are digital books so they will be sent to you right away!
Ive made a fresh batch of blackberry wine. I added one cinnamon stick to the water and let it come to the boil. Then poured it over the berry juice which I had squeezed using my home made fruit press. Will the cinnamon water make a change to the must
I am using the blackberry puree and not fresh berries. How much puree do I need to use for my first batch.
How much yeast do I use if the package I got does 6 gallons
Looking forward to my blackberry wine. who oh! Wish me luck.
just racked off my first batch of blackberry wine and its really looking good(and tastes pretty okay as well).
I too can buy blackberry wine in town and my friends liking for it inspired me to try my hand.
Having said that the pub in town that sells it is a bit old fashioned, It used to a regular haunt of Oliver Cromwell who lived a few hundred yards down the road.
I will let you know if my attempt at winemaking lives up to the commercial product.
i have just tried a little of last years batch of blackberry wine and it tastes bloody god to me.
Acid test comes in a few weeks when Elaine, blackberry wine lover gets to give her verdict on it.
Meanwhile this years batch is racked off and getting ready to bottle.
Thanks for the recipe, this has now become an annual event in our household.