Delicious One Gallon Grape Wine Recipe

Without a doubt the most popular and well-known fruit wine on the planet.
It is enjoyed in every single country in the world, using a multitude of different grape varieties and uncountable different production methods.
It is red, pink, white, yellow, golden and purple. It is drunk by royalty and by workers, during celebrations and religious rituals, and in more than 8,000 years it has never once gone out of fashion.
So the question is – why would you ever need to make your own grape wine when you can pick up a bottle from your local market (or your personal wine rack!)?
Well, you don’t *need* to make it, but for amateur and semi-professional home winemakers, grape wine is the holy grail (pun intended) of fruit wines.
Get this right, and you can officially call yourself a winemaker.
Get it wrong, and you just need to keep on practicing.
As daunting as it may seem, grape wine is not actually that difficult to make.
Think about it – we were making this stuff thousands of years ago when we were still living in caves and couldn’t even imagine a world with powdered yeast, demijohns and airlocks.
So just follow this recipe, choose the best quality grapes that you can find, and don’t over-think it. You will be an expert in no time.
Equipment
This recipe is for one gallon of grape wine, so if you plan to make more, just choose a larger demijohn and fermentation bin, and multiply the number of wine bottles by the number of gallons you wish to make.
Below is a basic recipe for novice winemakers, but if you have an advanced knowledge of homemade wine you might want to invest in some more sophisticated equipment.
The most important thing to remember when using wine-making equipment is that everything absolutely has to be properly sterilized before you use it, and in between each use.
You can scald each item with boiling hot water, or clean them out with household bleach (and make sure you rinse them well afterwards!), but I prefer to use a few crumbled up campden tablets.
Just follow the instructions on the packet, then let each piece drip dry naturally before using.
- A fermentation/brew bin, or a food grade basin with a capacity of at least one gallon.
- 2 glass or plastic demijohns (at least one gallon in size), plus a fitted airlock and bung.
- A large straining bag or muslin/cheesecloth cloth .
- A vinyl siphon tube (at least 3ft in length).
- 6 glass wine bottles (if you are making white wine, consider buying green wine bottles as they will help protect the wine from discoloration or sun damage), plus fitted corks and a corker.
- A large funnel.
- Hydrometer. This neat little gadget will keep you right when it comes to ending your fermentation and judging the sweetness and alcoholic content of the wine.
Optional Extras
- Acid testing kit. This is a great way to ensure that your wine is not too bitter or acidic, but if you are just making wine for your own personal use, you really don’t need it. Just follow the recipe and you will end up with a balanced wine.
- A wine press this is for serious wine-makers only, and people who plan on making more than five gallons of wine at a time. I only ever make my grape wine in 1 gallon batches so I find that a potato masher does just as good a job, but if you want to impress your neighbors and turn your house into a micro-vineyard, this is a decent investment.
Ingredients
- 12lbs (5.5kg) fresh grapes. You can use any variety you like, but they MUST be fresh and ideally either picked straight from the vine or still on their stems.
- 5.5lbs (2.5kg) granulated sugar
- White wine yeast or red wine yeast depending on which variety of grape you are using. Each brand has slightly different instructions for use, so read the packet to find out how much you need and how it should be added.
- Campden tablets.
Optional Extras
- Yeast nutrient. If you are using fresh, clean grapes you shouldn’t need any yeast nutrient, but if your fermentation hasn’t begun after 48 hours, it’s worth adding a little of this to move things along. As with the wine yeast, amounts will vary depending on the brand you choose so make sure you follow the instructions on the packet.
- Citric acid . If you want to use this, add one teaspoon on the second day of fermentation. I don’t like using it in grape wine as I feel that it can mute the delicate flavors of the grape, and the wine doesn’t suffer if you leave it out. However, most purists would disagree with me, so use your own discretion!
- Grape tannin . This is only really necessary if you are trying to make a dry red wine with young red grapes.
- Unsweetened grape juice . You can use this to top up your demijohn during the racking stage, but I prefer to leave it out as it can alter the natural flavor of the wine. I’d rather have five bottles of good wine than six bottles of mediocre wine.
- Wine stopper/stabilizer such as potassium sorbate. This will stop any unwanted fermentation after you have reached the preferred gravity reading on your hydrometer.
Our Grape Wine Recipe
STEP ONE – Setting up your 'vineyard'
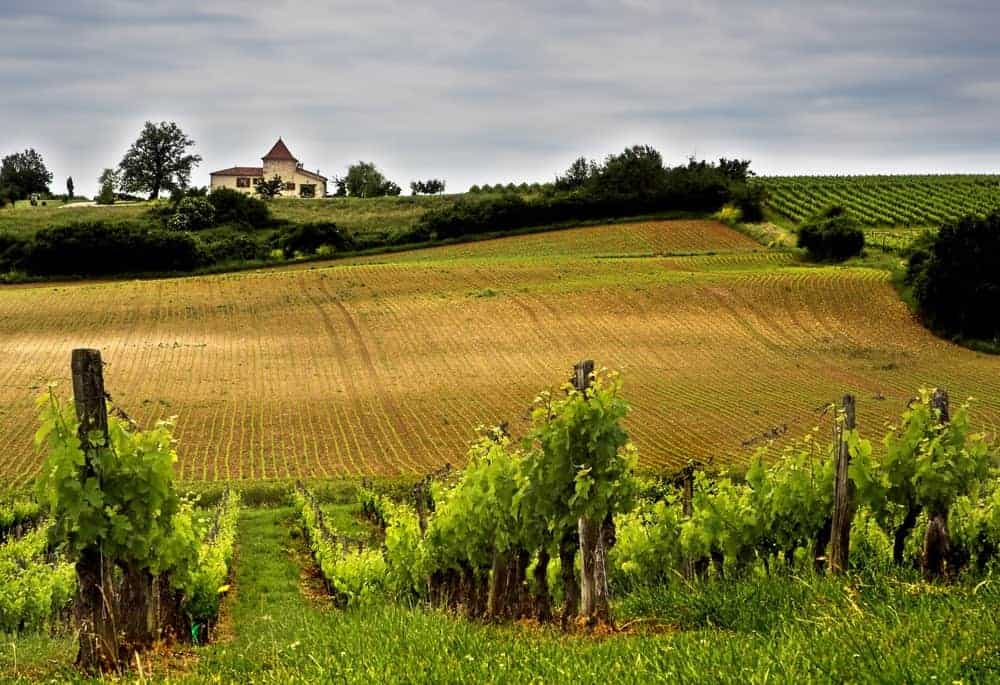
Don’t have a chateau in the Loire Valley? Don’t worry – your kitchen will do just as well (just don’t tell the French).
Setting up your own vineyard is easier than you think. Just follow this checklist:
1. You need to have a cool, dark place away from direct sunlight where you will be storing your wine as it ferments and matures.
2. You need to have all the equipment detailed in the list above.
3. You need to have space to brew, strain and rack your wine.
4. You will need to be OK with some weird yeasty smells coming from your kitchen now and then…
Ready? Then let’s begin.
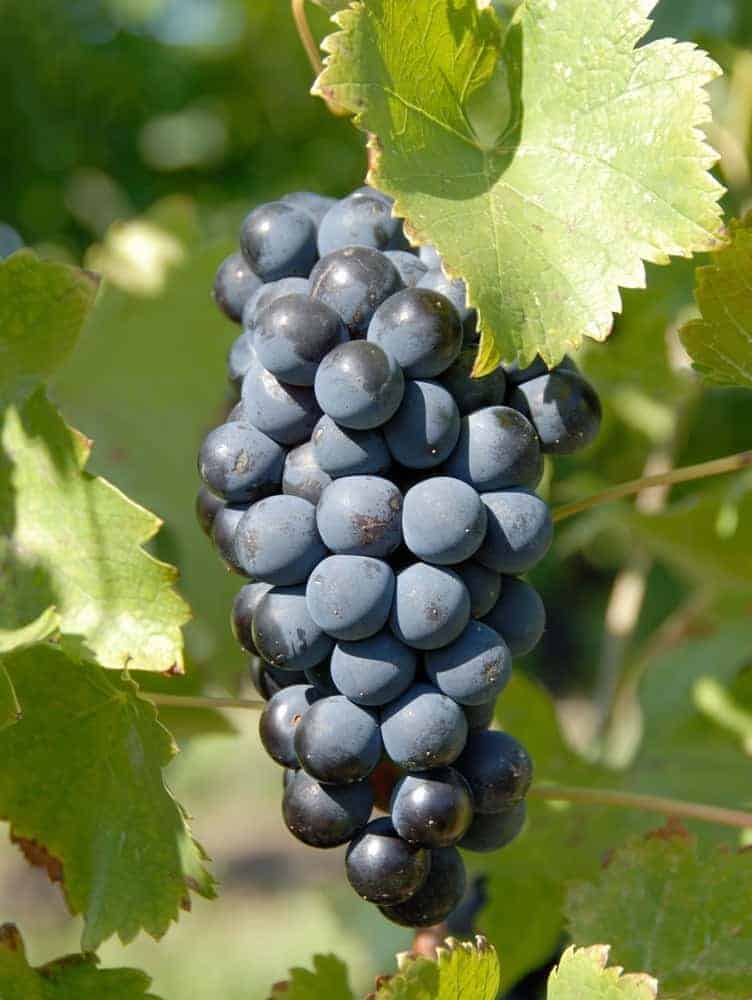
It won’t surprise anyone to learn that good grape wine starts with good grapes.
As you already know, the grapes that you use will very much inform the sort of wine that you end up with.
There are more than 10,000 different strains of grape in the world, and you can make wine out of every single one of them.
Having said that, the quality of the wine might vary quite dramatically from one grape to another, but as a general rule of thumb bitter grapes make better wines.
You can always alter the sweetness by adding more sugar later on.
If you want to make red wine, choose a dark-skinned grape such as Malbec, Syrah, Merlot or Tempranillo, and if you want to make white wine, choose a Moscato, Chardonnay or Riesling grape.
While these are some of the most iconic and popular wine grapes, you don’t need to send a courier to France or Argentina to get a hold of them.
Many specialist food markets and farm shops will sell wine grapes or seedlings which you can grow yourself at home.
But be warned – while growing your own grapes is a noble and ancient tradition, it is also a full-time job.
Academics have devoted their lives to studying intricate details such as the impact of soil pH on wine; wind chill and vines; optimum height of grape vines; and the best composting rituals.
Growing your own grapes requires patience and finesse, and even with the best will in the world there is no guarantee that you will end up with a wine-worthy harvest.
As far as I’m concerned, the most important factor is the natural flavor of the raw grapes, so just make sure that you choose ripe, seasonal and organic produce, and the rest will take care of itself.
STEP TWO – Preparing your grapes
Once you start removing your grapes from their vines, you expose a tiny nib of grape flesh to the atmosphere around you, and that accelerates the discoloration and fermentation process.
Don’t get me wrong – your grapes won’t start to go ‘off’ immediately (it will take a few hours), but every second counts in the delicate process of wine making, so my advice is that you don’t start removing your grapes from their stalks until you are 100% ready to use them.
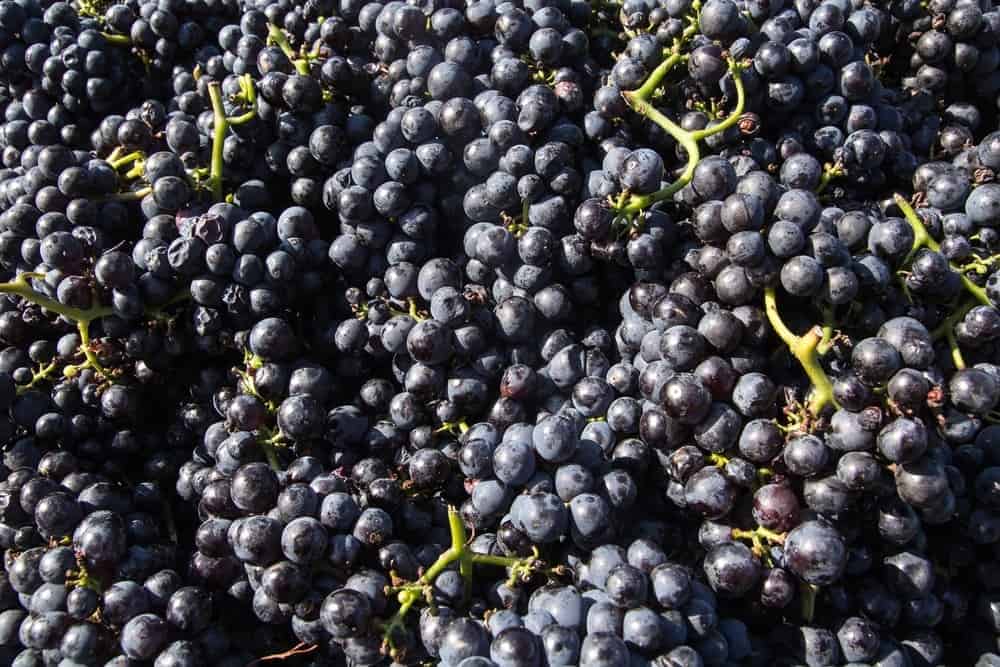
And before you start using your grapes, you have to inspect them thoroughly.
Taking each bunch in turn, inspect every single grape individually, discarding any which are under-ripe, over-ripe or bruised.
Check every grape for splitting (a sign that the vines haven’t been watered enough) or holes in the flesh (a sign that birds have been at them, or worse – fruit flies), and use this opportunity to gently brush away any specs of dirt or bugs.
When you’re finally happy with your remaining produce, weigh them again to ensure you have enough (subtracting a couple of ounces for the weight of the stems, of course).
Now, working quickly and carefully, remove each and every grape from the stem and drop them in your fermentation bin.
Make sure you don’t accidentally drop any pieces of stem in there too – even a little bit of this will make the wine taste a bitter. Don’t worry about seeds though – as long as they remain intact they are absolutely fine to use.

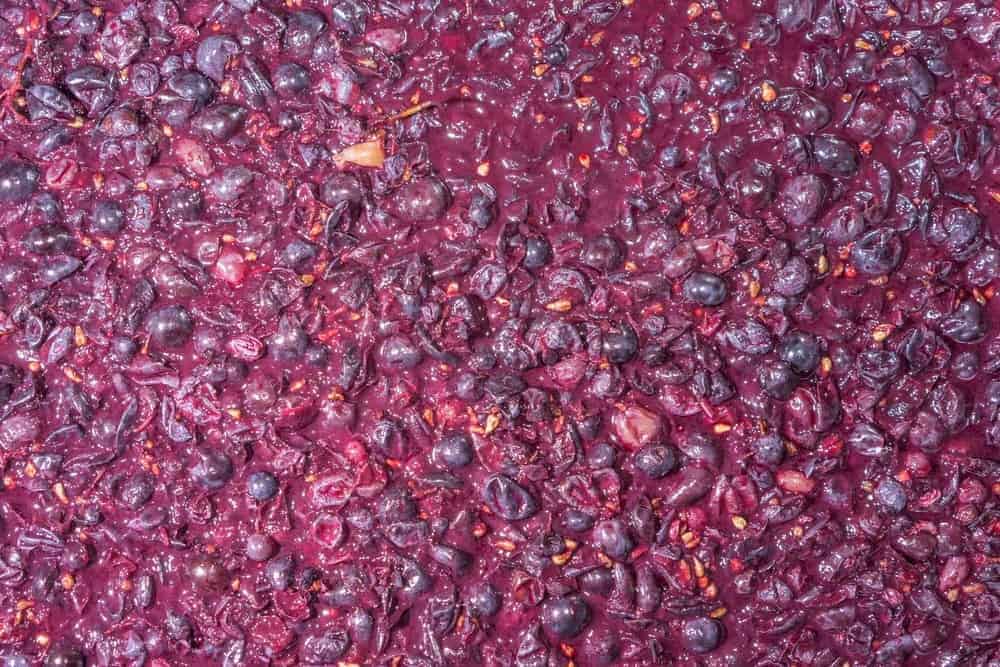
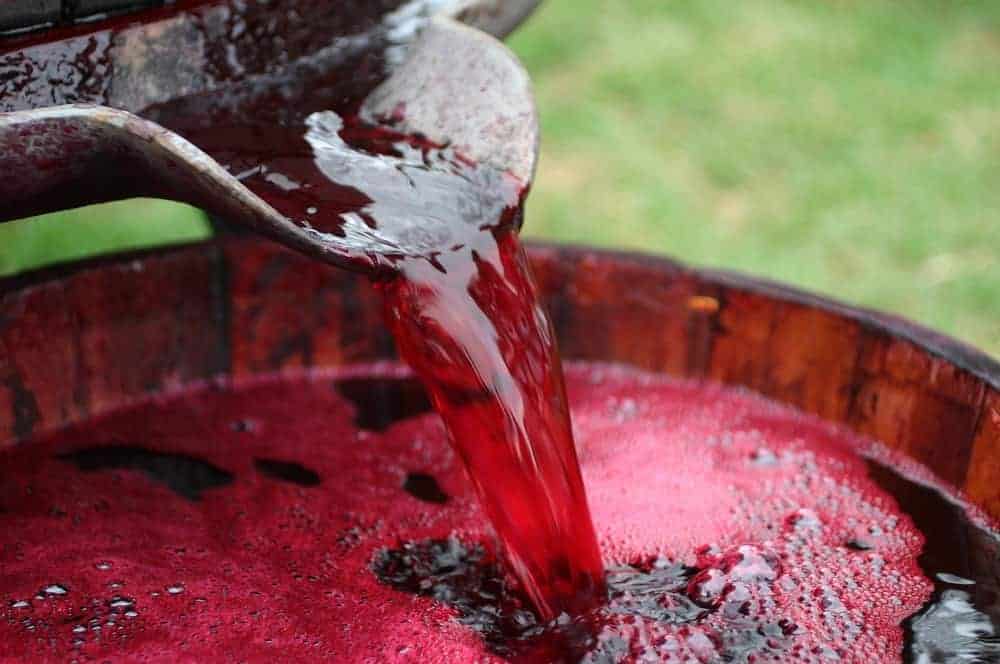
When all your grapes are in the fermentation bin, you can start crushing or ‘pressing’ them.
If you have a wine-press, dig it out now, otherwise you can just use a potato masher, your hands, or an old wine bottle.
Or you could go rustic and get in there with your bare feet, stomping around until you’re standing in a mushy swamp of grape juice and pulp – just make sure your feet are scrupulously clean first!

STEP THREE – Red or white?
If you want to make a red wine, scroll down a bit. If you want to make a white wine, these next few instructions are for you:
- Once your grapes have been well and truly crushed, tip them into your straining bag and squeeze the bag until you are left with a sweet, golden liquid.
- Transfer the grape juice back into the fermentation bin and use your hydrometer to get an initial gravity reading. It should be no more than 1.095 at this stage – depending on the natural sweetness of your grapes you will either need to add sugar (to bring the gravity reading up) or add filtered water (to bring the gravity reading down).
- If you do not have as much wine as you thought you would have at this point, top up the mixture with a little unsweetened grape juice or sugar water (in a ratio of 3 parts water to 1 part sugar). If you are using citric acid and/or grape tannin, now is the time to add it in.
- Then cover your fermentation bin and leave for 24 hours, before adding the yeast and leaving for another 5-7 days, stirring twice a day.
- You will know that the fermentation has stopped when the mixture has stopped bubbling and frothing around the surface. Just skim off any residue that’s sitting on the top, and then transfer your wine mix into a sterilized demijohn, attach the bung and airlock and place it in a cool, dark place away from direct sunlight.
If you are making red wine, follow these instructions:
- Leave the crushed grapes, skin-on, in the fermentation bin and take your initial gravity reading – you are aiming for approx. 1.078. Depending on your grapes, you will need to either add filtered or bottled water, or sugar. I am always paranoid about ending up with a too-dry red, so I would usually add a cup of sugar at this stage regardless of the gravity reading, then stir the mixture until it’s all dissolved.
- Cover and leave for 24 hours in a cool, dry place.
- Then add your wine yeast and yeast nutrient (if using), and leave it to ferment for another 5-7 days, stirring twice a day.
- When the fermentation has stopped (i.e. the bubbling and foaming has started to tail off), strain your grape juice through a straining bag and wring out every last drop of liquid.
- Transfer the wine mix into a glass demijohn and attach the bung and airlock. Then leave it to sit in a cool, dark place until you are ready to move on to the next step.
Regardless of which type of wine you are making, the mixture will need to sit in its demijohn for at least three weeks before you start working with it again.
Initially, you will notice some bubbling in the airlock and a steady stream of bubbliness coming from the bottom to the top.
This should stop after a couple of weeks, and the wine will start to separate, with a thick, dark sediment settling on the bottom, as the wine towards the top becomes more clear. That’s when you know it’s time to move on to step four…
STEP FOUR – Racking your wine
This is the fun bit, and the part which transforms your mixture from a musty, cloudy liquor into a dazzlingly clear wine.
To rack your wine, you need to gather up your second demijohn and your vinyl siphoning tube, as well as your wine-filled demijohn of course.
Place the wine-filled demijohn on a flat surface such as a table or countertop, with the empty demijohn sitting on the ground below it.
Then remove the bung and airlock and lower your vinyl tube down into the wine, holding it steady just before it hits the sediment at the bottom.
Then take the other end of the tube and suck on it as hard as you can, until the wine starts to flow!
Quick as a flash, pop this end of the tube into the empty demijohn and watch it fill up with water.
Keep going until you have removed all of the wine above the sediment, then discard the leftovers in the original demijohn.
If you’re worried about losing a few drops of wine during this process, top up the second demijohn with a little water and sugar (in a 3:1 ratio) or unsweetened grape juice.
Then put the airlock and bung onto the newly-filled demijohn and put it in a cool, dark place where it will continue to mature and clear.
Keep checking on it every week or so until you spot a new layer of sediment starting to form at the bottom (this will take between 3 and 8 weeks depending on the type of grapes and yeast which have been used). Then repeat the racking process one more time.
If you want your wine to be crystal clear, you can rack the wine an extra time, but two rackings should be enough to give you a beautiful color and clarity.
STEP FIVE – Finishing the process
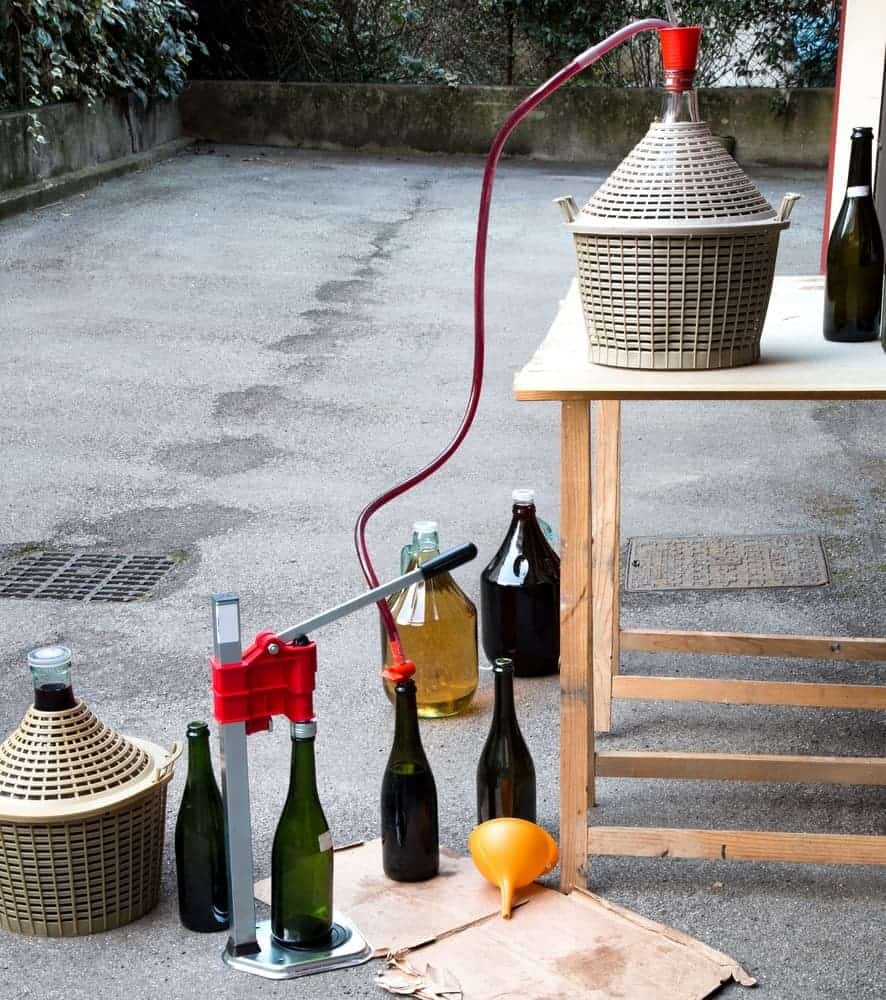
Before you start bottling up your wine, rack it one more time to get rid of any pesky yeast solids which have escaped during the previous rackings.
Then straight away, line up your bottles on the ground, place your wine-filled demijohn on a flat surface above, and use the vinyl tube to move the wine into each bottle, one at a time.
Then cork and seal each bottle, and label them with your very own ‘Chateau Maison’ as well as any other information you want to include (ingredients; ABV; bottling date; a brief history of your home winery)
You may not get a full six bottles, so why not enjoy drinking a glass or two now – just think of it as *quality control*…!
You can technically start drinking your wine straight away, but it will really benefit from a few months’ maturation.
Red wine should be matured for between six and 12 months, and white wine is at its best when it’s been matured between three and six months.
Make sure you store your bottles in a cool (but not too cold!), dark place away from direct sunlight. If you are keeping your wine for more than a year, turn the bottle every 8 months or so to prevent sediment from gathering along one side.
When your wine is finally ready to be drunk, make an event out of it as our ancient ancestors would once have done.
Invite your friends and neighbors over and crack open your first bottle together, then enjoy it alongside a platter of fresh and dried fruit (including plenty of grapes!) and a selection of cheeses.
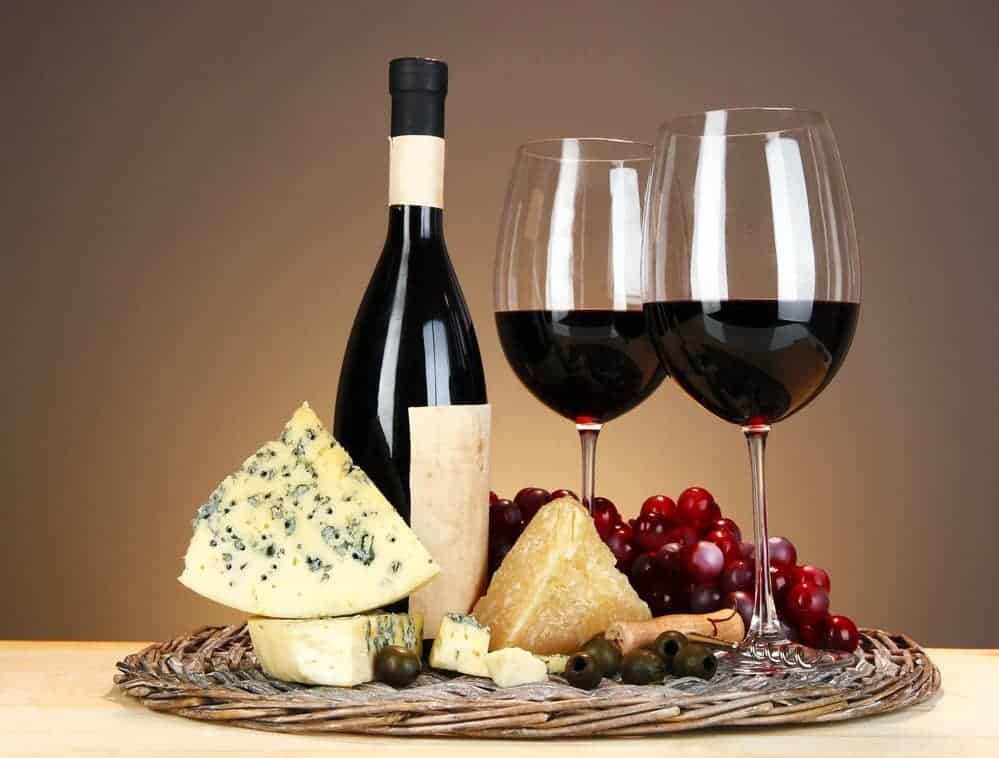
Take your time over this wine, and really take in its aroma, its high notes, its low notes and its texture.
This is a once-in-a-lifetime wine – even if you make your own batch every single year, you will never completely replicate the flavor (or experience) of your first ever homemade wine.
Tell us how your first foray into grape wine-making has worked out – what would you change in your next batch? And how did you opt to press your grapes in the end?
Leave any comments and tips in the comments below, and share all the ups and downs of your adventures in winemaking.
Recommended Reading: Take a look at our guide to homemade strawberry wine.
Conclusion

I hope that this article has helped dispel the myth that grape wine is best left to the professional vineyards of the world’s top wine-making region.
With some great produce, a practiced technique and a lot of patience, you can hold your own against the Old and New World wineries, with a delicious grape wine which is completely unique to you.
The best thing about this wine is that the more you make it, the better it will get. Experiment with different varieties and combinations of grape, and keep a note of the results – within a matter of years you should have a recipe and a technique that you can be proud of.
In the meantime, if you want to try something completely different, have a look at our other fruit wine recipes elsewhere on our site.
Finally, if you enjoyed reading this article and making your own grape wine, feel free to share it with your friends, family and fellow wine lovers.