Amazing Homemade Watermelon Wine Recipe

Watermelon is refreshing, healthy, and of course absolutely delicious!
But watermelon wine?
That’s a much harder sell.
For a start, it is steeped in a decidedly non-healthy ingredient called sugar. Then it is fermented until it reaches around 14% ABV – another major no for the health conscious.
Watermelon wine is not healthy, but it is an absolutely delicious indulgence that will brighten up the cloudiest day and bring a smile to the face of even the most snobbish of wine lovers.
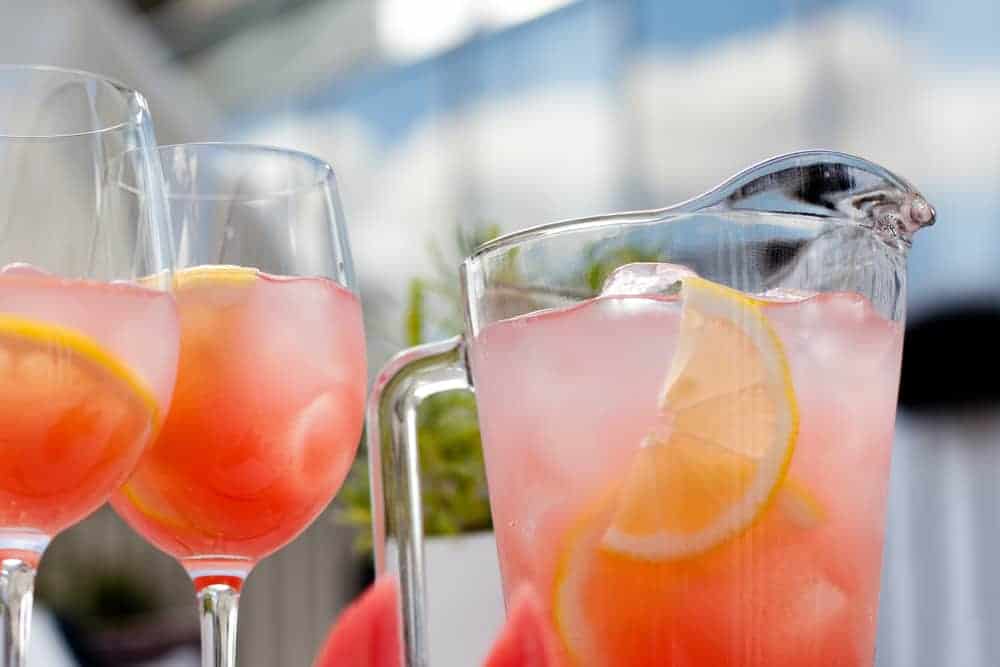
Because let’s face it, who can say no to a large glass of bright pink, sweet and refreshing watermelon wine served so cold that the glass starts to frost over?
Read on to learn the basics (and more) of making fresh and tasty watermelon wine in the comfort of your own home.
Equipment
This is a basic list of equipment for first-time wine-makers.
If you’ve ever made your own fruit wine before, you will already have most of this stuff.
If you’re completely new to all this, don’t be put off by the crazy-sounding names and science lab equipment below – all of this stuff is available from your local hardware store, or online and we’ve added in a few handy links so you can get a better idea of what they look like, and the market price.
Some of these items can be substituted without issue – for instance, instead of glass demijohns you can use ceramic carboys or even plastic cartons.
However, no matter what equipment you use, it is absolutely vital that you sterilize it well before using it – even if its brand new.
You can sterilize wine-making equipment by using boiling water, or even a little household bleach, but I much prefer the campden method.
Simply crumble up a few campden tablets in some water (one per gallon of water used) and allow your equipment to soak for at least ten minutes.
Rinse it out and allow it to drip dry and then you’re good to go!
- A sterilized fermentation bin, or a non-porous food grade basin with a capacity of at least one gallon.
- 2 glass or plastic demijohns (at least one gallon in size), plus a fitted airlock and bung.
- A large straining bag or muslin cloth.
- A vinyl siphon tube (at least 3ft in length).
- 6 glass wine bottles, plus fitted corks and a corker.
- A large funnel.
- Hydrometer. I wouldn’t normally insist that you use a hydrometer in your wine recipes, but watermelon is not like other wines. There is no water added to this watermelon wine recipe, and the amount of fruit used will vary from watermelon to watermelon, so you are going to need a way to measure the sugar content in your wine throughout the process. Luckily, hydrometers are fairly cheap and easy to use, so this is not as difficult as it sounds.
Ingredients
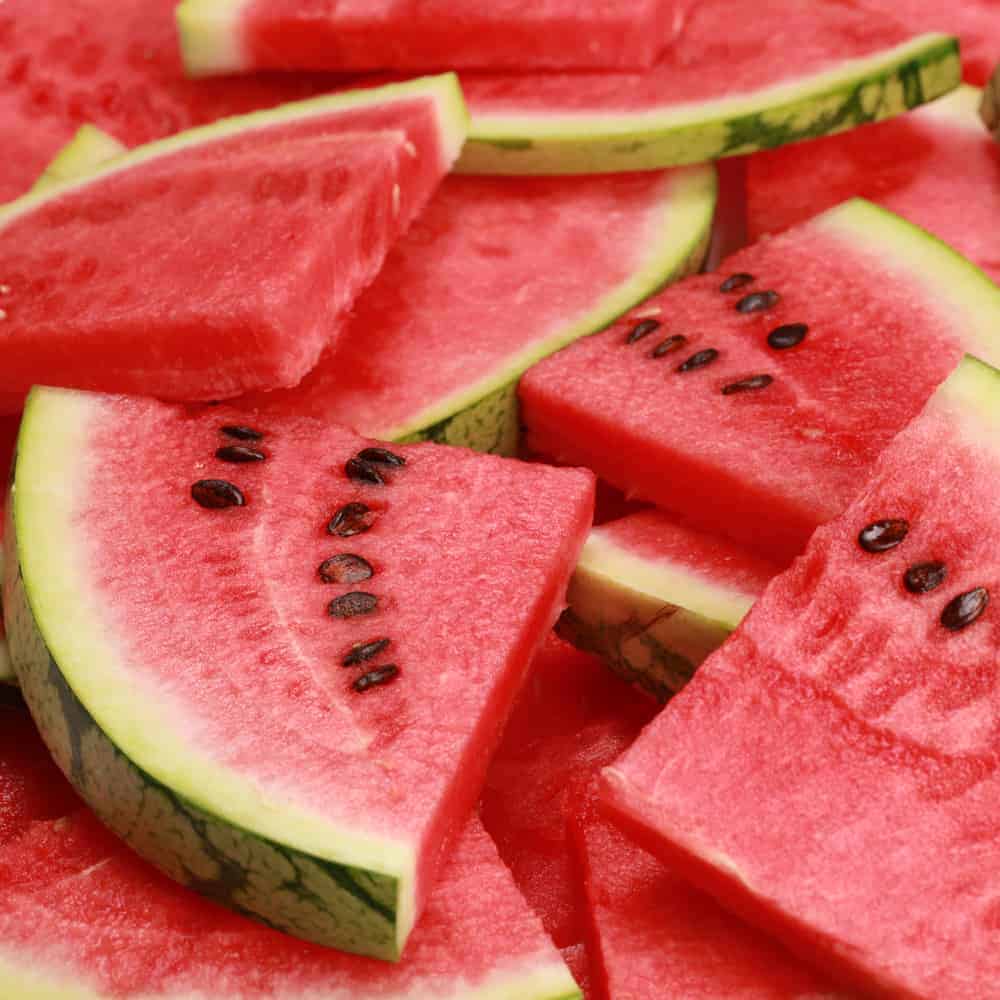
One large red watermelon, with seeds.
Seedless varieties simply do not have the same flavor, and this wine is all about that ripe, juicy watermelon burst.
You can also use yellow watermelon in this recipe, but in my opinion one of the best things about this wine is the zingy pink color.
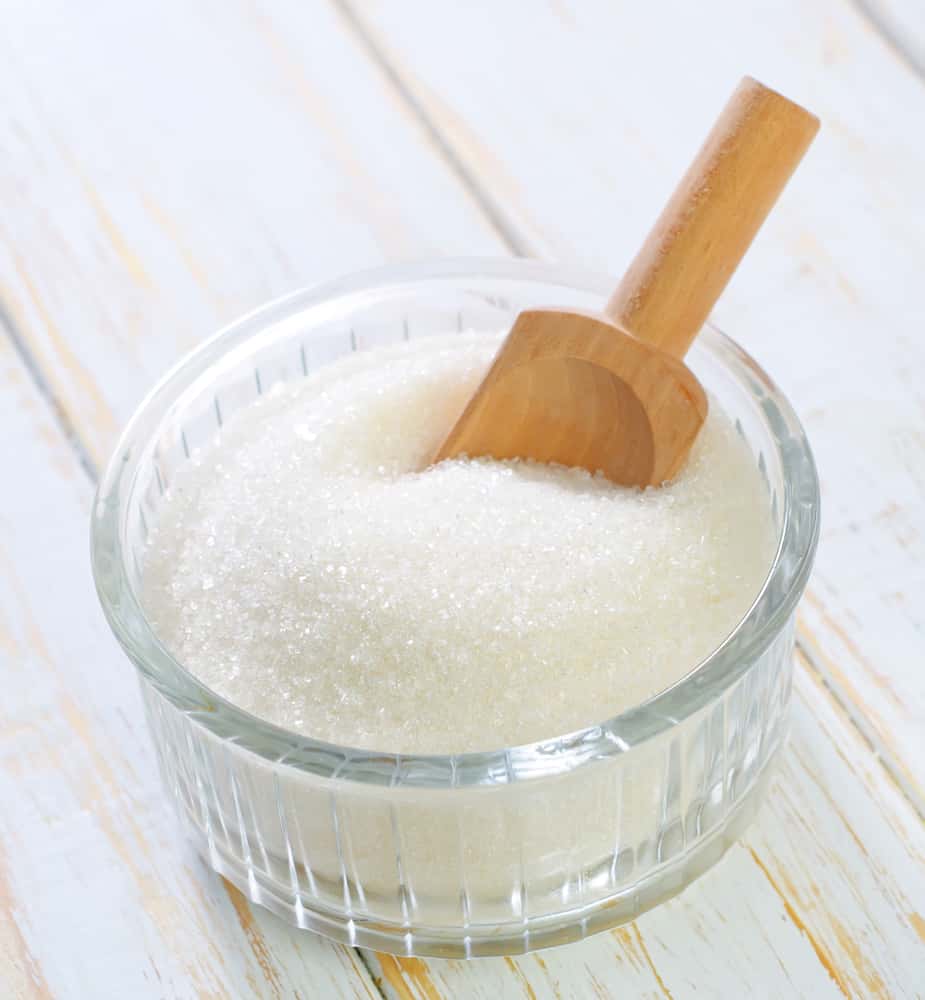
- 3lbs (1.35kg) granulated sugar .
- 2tsp of lemon juice or 1tsp of citric acid .
- Champagne yeast. Choose a fast-acting, active yeast. Watermelon spoils quickly so you have no time to lose when it comes to fermentation. In a pinch, white wine yeast will also work, but again, make sure you choose a fast-acting variety. For quantities, read the instructions on the pack – every brand has slightly different instructions.
- Yeast nutrient . As before, follow the instructions on the packet for information on how much to use.
- Campden tablets.
Our Watermelon Wine Recipe
STEP ONE – How to choose the perfect watermelon
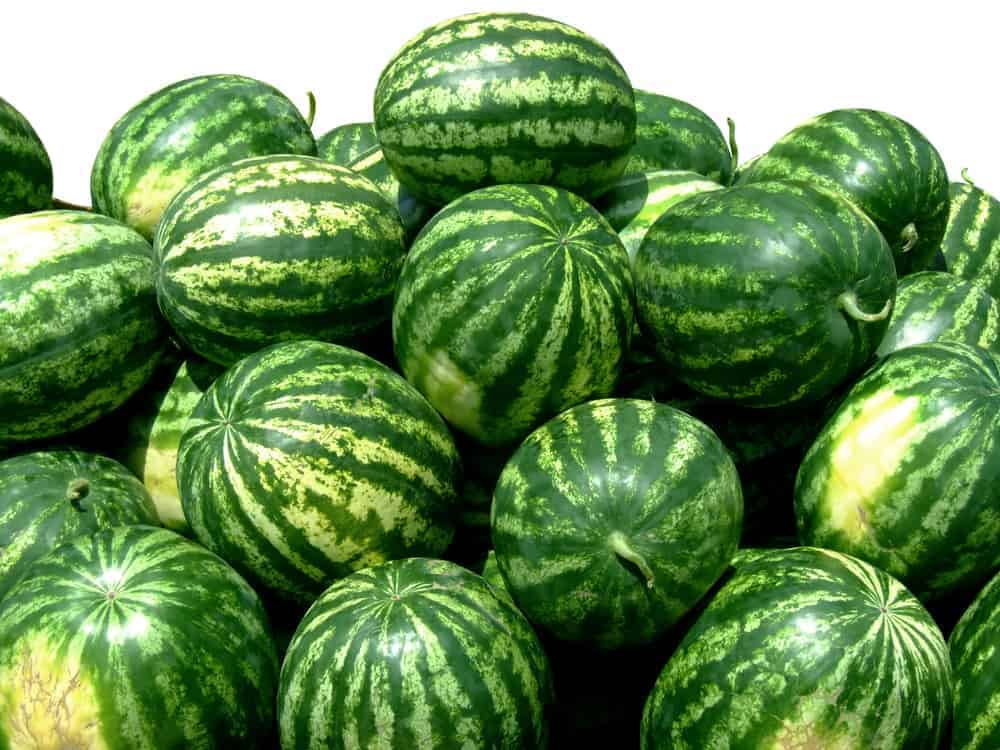
As you may or may not have noticed, this recipe calls for ‘one large’ watermelon, with no specific measurements added.
By ‘large’, I mean big enough that you have to bend your knees to pick it up.
We’re talking about at least 20lbs of watermelon here (although it will weigh less once you remove all the juice and insides).
However, you don’t need to worry about the exact measurements here. Different varieties of watermelon have different levels of sweetness, so the best way to work out the ratio of watermelon-to-sugar is to simply start with a load of fruit and add the sugar gradually, taking hydrometer readings as you go along.
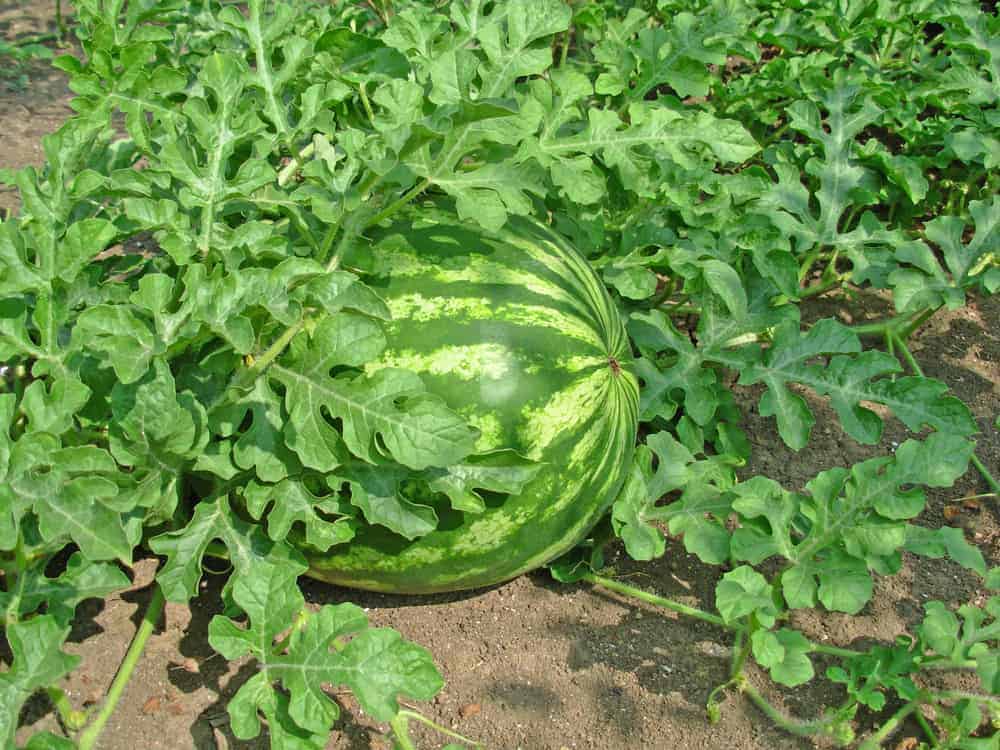
But you don’t need to worry about that now. Before you get into all this technical stuff, you need to know how to choose the perfect watermelon.
In short, your watermelon should check all the following boxes:
If you’re lucky, you will have a local farm where you can buy watermelons directly from the grower and check all these facts right there and then.
Alternatively, try your local whole foods market or organic store. You may end up paying a little more for your watermelon, but trust me – it’s worth it.
A watermelon warning!
Like all water-heavy produce, watermelons come with a certain risk of e.coli.
This is a nasty gastric bug which can land you in hospital if you aren’t careful, and it is often found in undercooked meat and vegetables which have been grown in animal manure, or close to sewage works.
The wine-making process will ferment and destroy any bacteria that lives inside the watermelon flesh, but it’s always best to be extra safe.
If you’re buying your watermelons straight from the farmer, check to make sure that they are not downstream of any large developments or close to a septic tank.
STEP TWO – Preparing your watermelon
If you have any tricks on how to chop a watermelon safely and elegantly, please please let me know.
My kitchen looks like a battle scene by the time I’ve finished with my watermelon, with red liquid and black pips everywhere.
If you’re anything like me, I suggest wearing safety goggles during the preparation, and maybe even safety gloves (the knife takes on a life of its own!). Or, you know, just attack it with a chainsaw.
Whichever way you choose to chop up your watermelon, your aim is the same: remove every last drop of red flesh and watermelon juice.
Put all the flesh and juice straight into your fermentation bin as you go along.
Watermelon juice spoils quite quickly, so you should get this done as fast as you can then move on to step three.
STEP THREE – Managing your sugar content
Unlike most homemade wines, watermelon wine doesn’t require any additional water.
In my experience, any added water will seriously dilute the taste, and leave you with a watery, kind of boring wine.
Watermelons are around 90% water anyway, so my advice is to keep it simple and use what nature has given us.
Once your watermelon is in the fermentation bin, mash it up a little until it turns into a pulpy mess.
Don’t use any sharp blades or blenders to do this job, as you will split open the seeds and release a bitter element into your wine mix.
Now you add the sugar. This recipe suggests using 3lbs, but if you prefer a dry wine you might want to start with 2lbs and take it from there.
Add your sugar directly into the watermelon mix, and stir until it has completely dissolved. Then add the citric acid (or lemon juice), champagne yeast, and yeast nutrient, cover it and leave it in a cool, dark place to ferment overnight.
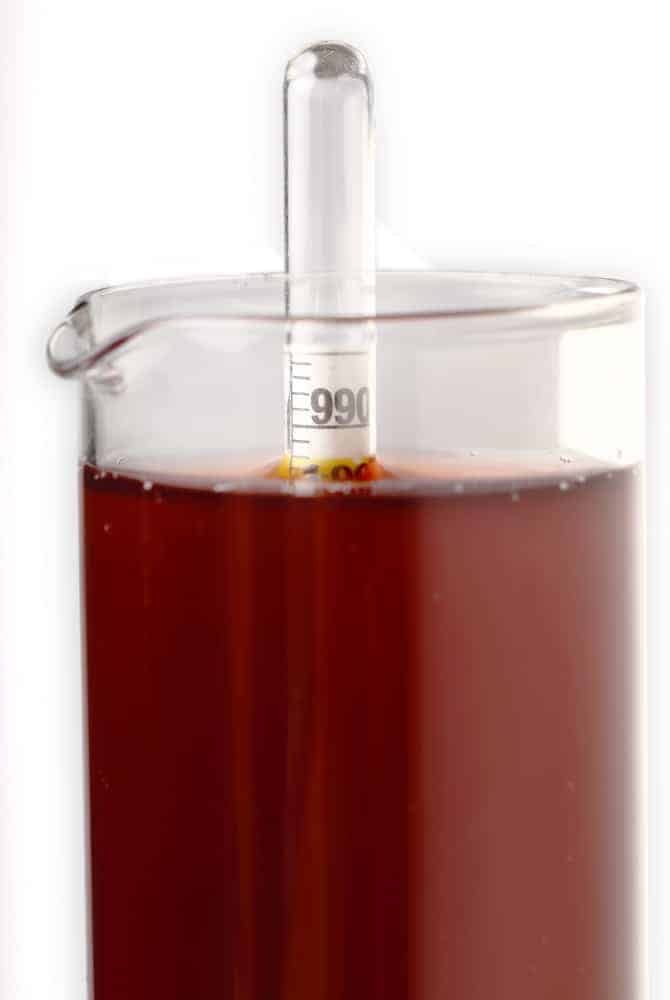
The next morning, use your hydrometer to take your first gravity reading. It should be around 1.100 at this point.
If it’s less than this, add more sugar and test it again. If its higher than 1.160, dilute it slightly with some filtered or bottled water.
Every day your reading will drop, as the sugar is converted into alcohol. If this isn’t happening, you can kick start the fermentation process by adding a little yeast activator.
Using your hydrometer
They may look like sophisticated pieces of kit, but hydrometers are actually very easy to use.
The one mistake most novice wine makers tend to make, is putting the stick directly into the wine mixture.
This will give you an inaccurate reading, as most of the sugar and yeast in the wine is sitting right up there on the surface.
Instead, use a sterilized soup ladle to give your mixture a light stir, then scoop out a spoonful from the middle of the bowl and pour it into a glass.
Pop the hydrometer into the glass, and you will instantly see your reading.
The higher the reading, the sweeter the wine. However, if you start your wine with too much sugar, you may end up with an extremely potent end product (20% ABV or higher!).
In this case, you can add a wine stabilizer or stopper such as potassium sorbate once you hit your ideal reading.
There are lots of hydrometer calculators online which will help you work out your ideal gravity reading, and how that translates into ABV (Alcohol by Volume).
To work it out yourself, simply take the finish gravity reading and divide it by 7.362.
STEP FOUR – Finishing the fermentation
After a day or so of fermentation, your wine mix should start to bubble and foam up quite vigorously. Check on it twice a day and give it a gentle stir with a sterilized spoon to help things along.
After a week, the bubbling should have stopped (or at least slowed down), and you can start to think about ending the fermentation.
Use your hydrometer to check the gravity reading – you want it to be in and around 1.050 by now.
Now you need to strain out the remaining watermelon pulp, and move the wine into your demijohn.
Slowly and carefully, pour your watermelon mix through a straining bag or muslin cloth, and wring it out gently to release all the juices.
If a few pips or pulp pieces have managed to escape, strain the mixture again using a brand new straining bag.
Then place your funnel over the mouth of the demijohn and carefully pour in your watermelon wine.
Don’t worry if the mixture doesn’t quite reach the top of the container, but if you’re absolutely determined to have a complete gallon, you can top it up with some watermelon juice (made fresh, of course).
Then pop the bung and airlock on to the top and store the wine in a cool, dark place away from direct sunlight. And wait! And wait… and wait.
At first you will notice that the mixture starts to bubble and course through the airlock. This will calm down after a few days, and after a month or so you will see only the occasional trail of tiny bubbles fizzing up from the bottom.
Wait until the bubbles have more or less stopped, then wait another three weeks. In total, you will probably be waiting for 2-3 months before you’re ready to move on to the next step.
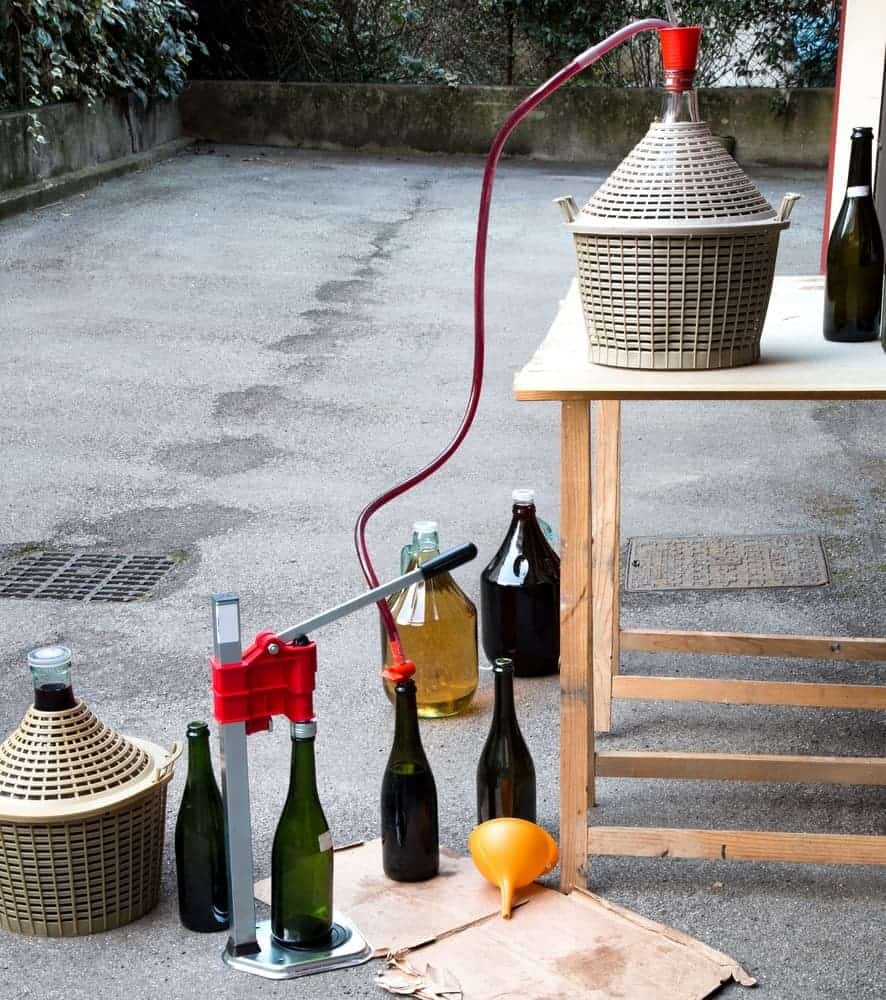
STEP FIVE – Lets rack and roll!
By now, your wine should be a nice pink color, and it will have started to clear towards the top, before deepening in color towards the bottom of the demijohn.
At the very bottom there will be a thin layer of sediment which is made up of yeast and fruit solids.
Racking your wine will remove the clear, wine-like stuff at the top, leaving the sediment at the bottom where it can be easily discarded. To do this, you will need to dig out your second demijohn and your vinyl tubing.
First, make sure you have cleared a place to work. Then very carefully lift your wine-filled demijohn on to a flat worktop or table, taking care not to disturb any of the sediment while you do this.
If you notice that some of the sediment starts to rise up, leave the demijohn on the table for a few hours before continuing.
Then put the empty demijohn on the ground directly below it – there should be at least 2ft in height between the two bottles.
Remove the bung and airlock and immediately sterilize them both.
Then take the vinyl tubing and lower it down into the wine, until it is positioned just a couple of inches about the sediment layer. Hold it in place (or get a friend to help you), then take the other end of the tube and suck on it as hard as you can.
It may take a few tries, but once you get a big gulp of wine in your mouth, the wine should start running quickly and constantly through the tube – just point it in the direction of the empty demijohn and wait for it to fill up.
As the wine starts to leave the first demijohn, you can start tentatively moving the tubing down further and further, but be very careful that you don’t accidentally suck up some of the sediment.
When you’re absolutely certain that you’ve racked off all the wine you can, put the (newly sterilized) bung and airlock onto the new demijohn, and store it in a cool, dark place for another two months.
Then repeat this process all over again and leave the wine for another one month.
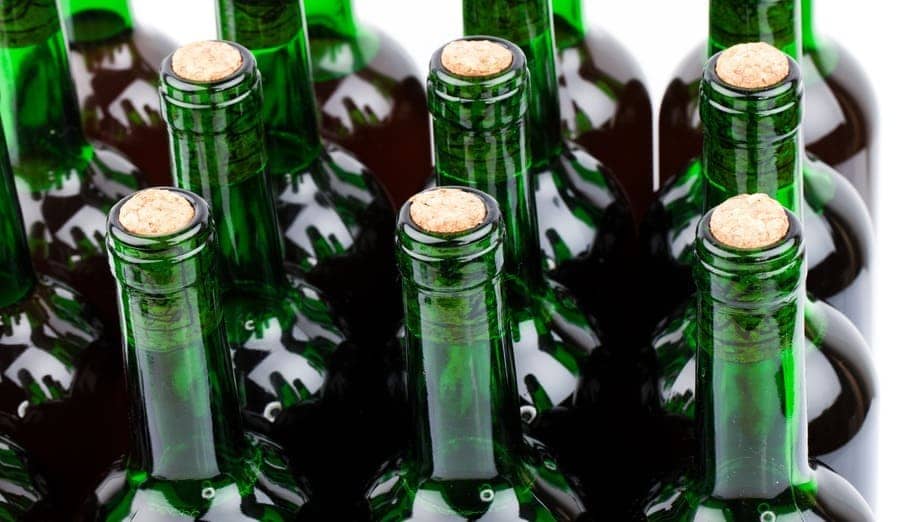
STEP SIX – Bottling up!
You will have to use your own discretion at this point, as every wine will be a little bit different. I find that it takes at least six months from mashing your watermelon to bottling your wine, with 2-3 racks in between.
This gives me a lovely clear pink wine which is sweet enough to drink but strong enough to separate the men from the boys!
If your wine is still looking a little cloudy after six months, rack it one more time and leave it for a month before bottling.
Check your hydrometer reading (it should be somewhere between 1000 and 1040), and start preparing to bottle up.
Bottling your wine is pretty much the same as racking your wine, except this time you are transferring the liquid into six smaller vessels. This means spillage, so make sure you put down a towel before you start.
Line up your bottles and position the demijohn on a flat countertop or table, then get to work!
Once filled, use your corker to seal each bottle, then make up a set of labels for each one, with the ingredients, the bottling date and the final ABV (which should be around 13-15%).
Store your bottles away from direct sunlight, and allow the wine to age for at least six months, and ideally a full year.
Watermelon wine is naturally sweet, so I think it benefits from a little extra maturing – as a general rule, the longer you leave it the drier it will get, and it’s worth waiting the extra few months to taste the complexity and fullness of a slightly dry (but still super-sweet) watermelon wine.
When it’s finally ready, celebrate the occasion by inviting your favorite people to share the first bottle with you.
Serve it chilled in a wine glass with a watermelon wedge garnish, or add a little soda water and turn it into a fancy spritzer in a champagne glass with a sprig of mint.
On a hot summer’s day, I like to leave a bottle in the freezer for a couple of hours, then take it along to a picnic or barbeque – it is a real talking point and the frosty glass makes the wine simply irresistible.
This watermelon wine recipe can be adapted slightly to allow for classic flavor combinations such as watermelon and strawberry, watermelon and grape (muscadine or mustang grapes work best), watermelon and peach, watermelon and dandelion, or watermelon and elderberry.
Just use the ratio of 70% watermelon to 30% other ingredient, and as always, source only the best ingredients you can find.
How do you plan to drink your watermelon wine? Did you follow this recipe to the word, or did you add in a few extra ingredients of your own?
Get in touch and tell us your wine-making stories and please feel free to share any advice and anecdotes in the comment section below.
Recommended Next: Don't miss our strawberry wine recipe!
Conclusion
Congratulations – if you’ve made it this far you’ve mastered the art of watermelon wine. It’s not the easiest wine to make, but it is one of my favorites and a trendy addition to any self-respecting wine cellar.
A final word of advice: don’t drink it all at once. The sweetness of the wine hides the robust alcohol content, and it is easy to forget that you are drinking *wine* and not just a delicious chilled beverage.
Trust me, go easy on it and savor it rather than gulping it all down and dealing with the consequences!
If your watermelon wine has turned out well, you might enjoy making one of our other fruit wines, which can be found elsewhere on this site.
After your watermelon experiences you may find these other wines a little too simple, so set yourself a challenge and start experimenting with a few new flavor combinations of your own.
Then get in touch and tell us what you’ve made so we can all share in the triumphs (and disasters!) of our community.
Post any comments in the section below, and if you enjoyed this article, feel free to share it with your friends, family and fellow wine-makers.
helpful