The Best Raspberry Wine Recipe You’ll Ever Try
To anyone who has ever said there is no such thing as a ‘dry’ fruit wine, I have one word for you: raspberries.
One of earth’s most intriguing sweet and sour fruits, they have an appealing tartness which contrasts beautifully with the natural sugars within.
When it comes to winemaking, this places them in a class of their own. They are sweet enough to withstand the rigorous fermentation process, but tart enough to hold their own, flavor-wise.
OK, so the entire process will take at least 18 months from berry-picking to bottle-opening, but believe me, it is worth the wait.
Raspberry wine is probably the driest, most unexpectedly drinkable wine that you can make at home, and you will be proud to serve it to wine guzzlers and wine snobs alike.
This article will tell you everything you need to know about making the perfect home-made raspberry wine, but the most important ingredient of all is patience.
Bide your time and you will be rewarded with a great wine that’s unlike anything you’ll find on the supermarket shelf.
Equipment
This list should serve as a basic guide on what to equipment you need to buy/dig out of storage before beginning your raspberry wine.
More seasoned wine makers will already have all of this stuff to hand, so this will probably be more of a checklist than a shopping list.
If you are really serious about your wine making, you might want to invest in a hydrometer which can be used to test the gravity reading of your wine – a calculation which will ultimately give you an idea of the wine’s alcohol content (or ‘ABV’ – Alcohol By Volume).
Otherwise, just stock up on all the items below and you’ll be good to go!
And always, ALWAYS sterilize your equipment well before each use.
- A fermentation/brew bin, or a food grade basin with a capacity of at least one gallon.
- 2 glass or plastic demijohns (at least one gallon in size), plus a fitted airlock and bung
- Two large straining bags or muslin cloths
- A vinyl siphon tube (at least 3ft in length)
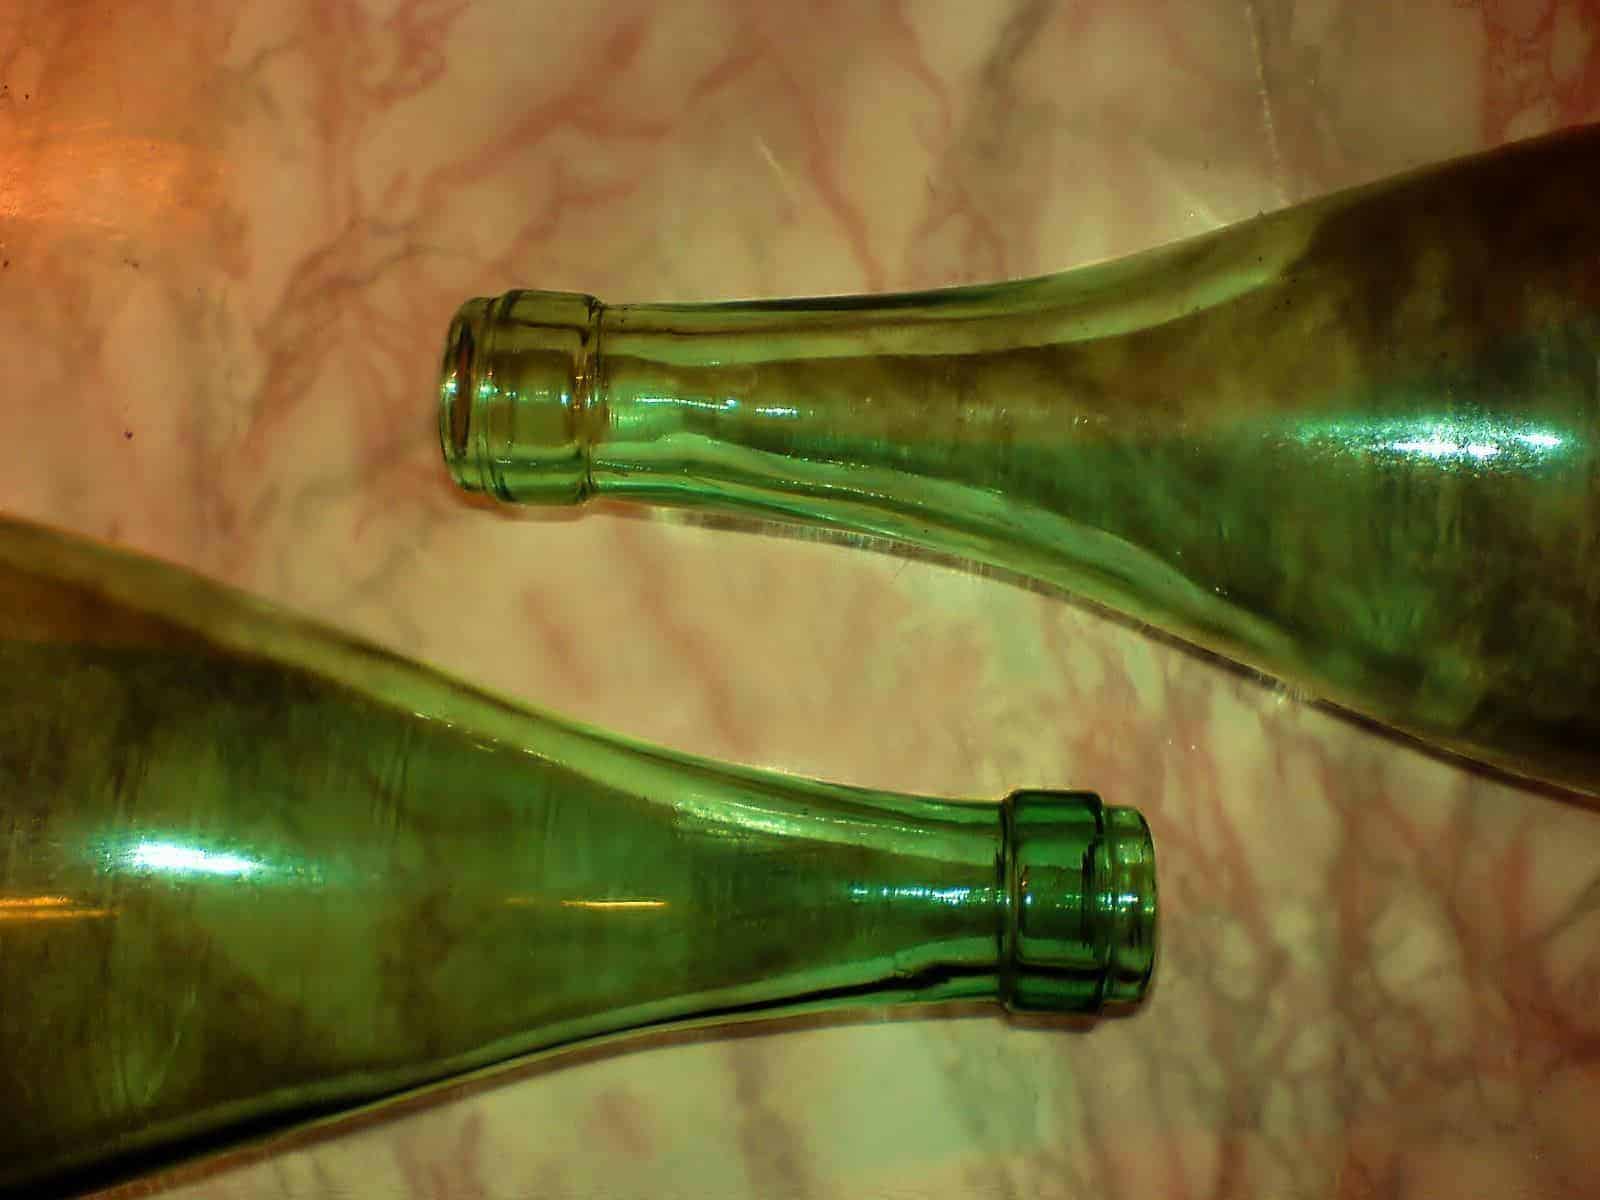
- 6 glass wine bottles, plus fitted corks and a corker.
In my experience, it is always worth investing in a good corker – you definitely don’t want to have to stop mid-way through your bottling process to duct tape you cracked corker, or buy a new one.
As an added bonus, corkers can also be used to re-seal any half-drunk bottles of wine or liquor, saving you precious money (and booze!) for years to come.
- A large funnel
Ingredients
- 3-4lbs (1.3-kg) fresh or frozen raspberries. This is probably the only fruit wine recipe where frozen fruit is just as effective as fresh fruit – in fact, many wine-makers find that frozen raspberries make a better, sweeter wine. When it comes to the fruit measurements, 3lbs of raspberries is the minimum that you should use, but I prefer to use more fruit and less water as you end up with a much more flavorsome, and drier wine. The other bonus of using extra fruit is that you can use the pulp to make a ‘second’ wine while the first wine is in progress. It will be lighter and less complex than the main wine, but still better than nothing!
- 2lbs (1.13kg) granulated sugar
- Juice of one lemon, or 0.5oz (15g) citric acid
- White wine yeast. Follow the instructions on the packet to find out how much to use.
- Campden tablets - these clever little tablets are safe to consume, and dissolve away into nothing within seconds, so they’re my go-to sterilizer when I’m making wine. Unlike bleach, it doesn’t really matter if you leave a little campden residue behind after rinsing, and unlike hot water, there is no question that they are performing a thorough cleanse. Just crumble them up and add them to water, then leave your equipment to soak for ten minutes or so.
Our Raspberry Wine Recipe
STEP ONE - Picking your raspberries
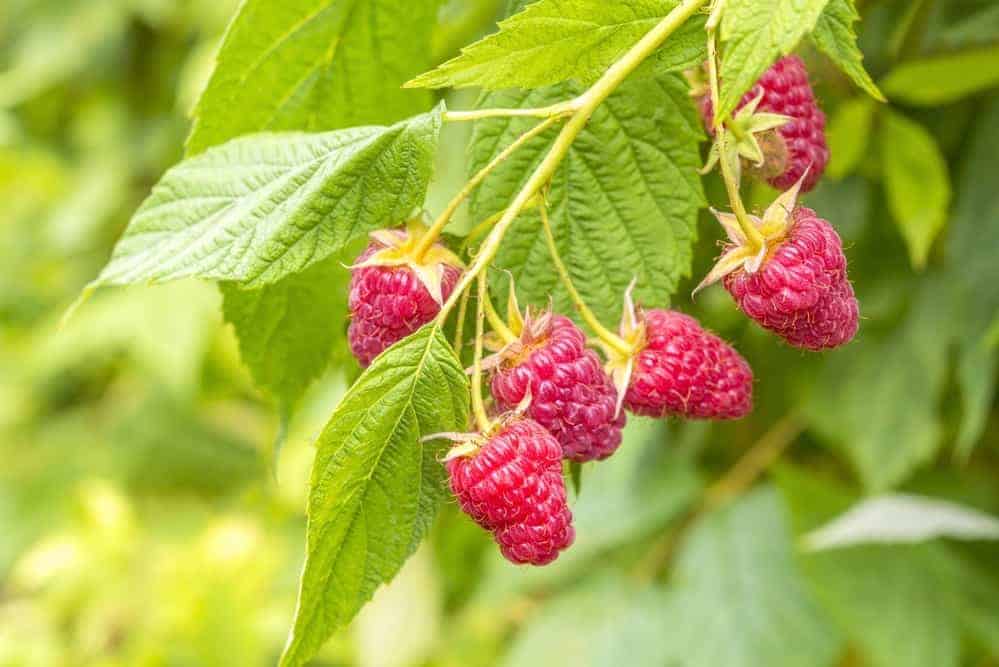
Raspberries are easy to grow, and even easier to find in the wild. They grow on thorny, cane-like branches in thick clusters in woodlands, parks, country paths, fields, and near rivers.
In the US and Canada, wild raspberries fruit in June and July, so if you are determined to collect your raspberries straight from the stalk, this is the time to do it.
But first, you need to know what you’re looking for.
Unlike other hedgerow berries, raspberries don’t really tolerate many neighbors – once they’ve established themselves, they grow thickly and closely, creating a dense thicket in the middle which is not exactly conducive to other plants and flowers.
For keen foragers, this is ideal, as it means that once you’ve found your local source of wild raspberries you can just keep on going back year after year without having to worry about rogue blackberries or demon weeds ruining your supply.
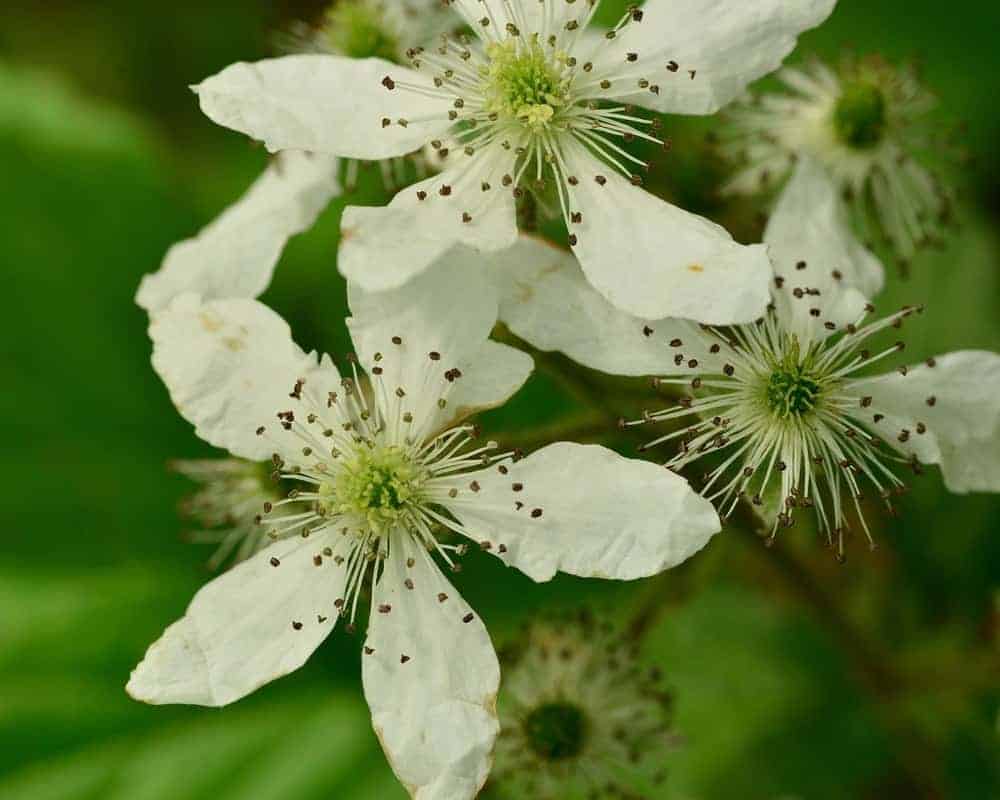
If you have yet to find a local raspberry bush, start searching in April. This is when the whitish/greenish raspberry blossoms start to emerge, signaling the start of the season.
Related: Like the sound of this recipe? You'll love our homemade cherry wine!
Between April and June, it’s worth keeping a close eye on your preferred raspberry bush, so you are ready to pounce as soon as the berries are plump and ripe. Because if you don’t pick them, the birds will…
Birds just LOVE raspberries, and will happily gorge on them in their flocks. If you have a raspberry bush in your garden, it may be worth installing a scarecrow nearby, or using a sprinkler system to keep unwelcome guests away (the wide-ranging root system of the raspberry bush means that it’s nearly impossible to over-water them).
Alternatively, cover them with a fine mesh which allows the sunlight to ripen the berries, but makes it difficult for small beaks to get through.
When picking your raspberries, ignore any which are green, white or yellow as this means they’re under-ripe. Likewise, leave any mushy ones on the branches – they will only ruin the rest of your collection if you allow them into your basket.
To pick, just pinch the berry and give it a gentle twist – it should come off easily in your hand. And always pick more than you think you’ll need – raspberries freeze exceptionally well, and can also be preserved in jams, jellies, vinegars and clear liqueurs.
If all of this raspberry picking sounds too much like hard work, well, there’s no shame in taking the easy option! Most supermarkets sell raspberries by the box, and you can sometimes get a discount if you buy them in bulk from a wholesaler or local farmer.
Alternatively, take a stroll down the freezer aisle of your local store and just stock up on frozen raspberries instead – frozen fruit is usually a lot cheaper than fresh fruit, and frozen raspberries work surprisingly well with this recipe.
No matter how you managed to track down your raspberries, it is always advisable to give them a quick check before using them. Check for over-ripe, under-ripe and broken berries, and discard them straight away. Then soak the berries in cold water for a few minutes, until any errant leaves, dirt or bugs appear on the surface. Skim them off, and rinse your berries through. And now you’re ready to make wine.
STEP TWO – Preparing your raspberries
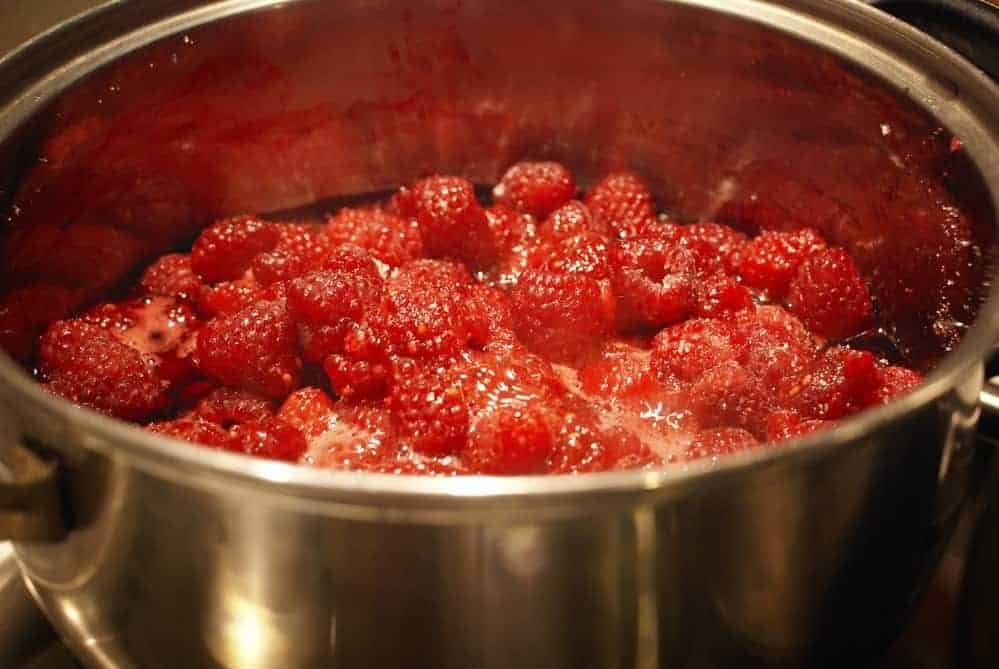
First, measure out one gallon of water and start to boil it in a large saucepan. Add the sugar and stir until it has dissolved, then gently bring the mixture up to the boil, before turning the heat right down.
Allow the sugary-water to cool for around 30 minutes, then pour it into the fermenting bin along with the raspberries.
I usually leave the raspberries to macerate for around one hour in the sugary mix, as this helps to break down the berries naturally and release the fructose.
You can help this process along by mashing the raspberries with a potato masher, or pressing them against the side of the pot with a spoon.
Once you have a lovely raspberry mush, add the citric acid and yeast nutrient, and stir it all together. Cover your fermentation bin, and leave for 12-24 hours.
After this time, add the wine yeast, and stir the mixture again. If you are using pectic enzyme, you can add it now too.
After another 24 hours has passed, use one of your straining bags (or muslin cloths) to collect all the raspberry mush, so you are left with a reddish pink liquid. Squeeze the cloth until all the liquid has been removed.
Leave the wine to ferment for another 5-7 days, stirring once or twice every day. When the wine has stopped bubbling and fizzing, this step is complete.
PRO TIP: If you plan to make a secondary wine from the raspberry leftovers, hold onto your mush! The easiest way to make secondary wine is to simply make up a new sugar water mixture (halving the amounts), and add the mush instead of the fresh fruit. Because this mush has already absorbed some yeast and citric acid, you don’t necessarily need to add them again.
For me, this is ‘bonus’ wine, so I like to keep it as simple as possible. I leave the raspberry/sugar/water mixture to ferment for five days, then strain out the residue and move on the ‘step three’ as usual. You will probably find that the secondary wine is much lighter in color to your main wine, but just in case, it’s always wise to label the two batches the whole way through the process.
STEP THREE – Things start to get serious
Once your wine has stopped bubbling, it’s time to whip out your equipment! Make sure your demijohn and funnel are all fully sterilized and dried, then carefully pour the wine mix through the funnel into the glass demijohn.
Resist the temptation to strain your wine again before doing this – there may still be a few visible bits of sediment in there, but unless you have somehow managed to drop a raspberry branch in there since the last straining, any visible bits will be handled during the next stage – racking. By training it again now, you risk diluting that brilliant red color,
If your wine doesn’t quite reach the top of your demijohn, don’t worry about it. I would usually suggest that you top it up with some filtered water and sugar, but you don’t want to weaken the flavor and natural character of this wine, so it’s best to just leave it as is.
Then all that’s left to do is to tap the bung in place (I use a hammer), and attach the airlock. Then leave the demijohn in a cool, dark place for two months. It’s very important to keep this wine out of the sunlight, as that can lighten its deep red color – if you want to be extra careful, wrap the demijohn in brown wrapping paper
STEP FOUR – Two months later…
After two months, you will notice a few things about your wine:
1. The airlock will have stopped bubbling quite so much
2. The wine will have clarified significantly (hopefully without losing its bright red color)
3. A thin layer of sediment and yeast residue will have gathered along the bottom of the demijohn.
This means it’s time to start racking.
Racking wine simply involves moving your mixture from one demijohn to another, leaving the bottom layer of sediment behind. The sediment is not bad for the wine in any way (it’s just bits of raspberry and yeast after all), but it will result in a cloudy drink, and may leave a chalky aftertaste in the mouth.
Raspberry wine is notorious for its sediment, so you may have to repeat this racking process three times before you are happy with your wine. There’s no such thing as too much racking, but you do have to leave 4-8 weeks between each one, to allow the sediment to settle once again. If you like your wine good and clear, you’re going to be in for a long wait…
So how do you rack your wine?
Well first you need to take your second demijohn and your siphon and make sure they’re freshly sterilized.
Then very, very carefully, lift your wine-filled demijohn and place it on a flat surface such as a table, a chair or a stepladder. Remove the bung and lower the siphon tube inside the bottle, until it is floating just above the sediment layer on the bottom of the bottle (you may need to get a friend to help hold the tubing in place).
Then take the other end of the siphon and suck on it as hard as you can, until you can taste raspberry wine – quick as a flash, start filling up the empty demijohn (which should be sitting on the ground below), being careful that you don’t accidentally suck up some of the sediment from the first demijohn in the process.
And that’s it!
Now all you have to do is put the bung and airlock onto the newly-filled demijohn, and put it back into its cool, dark place again.
Leave it for another two months, then repeat the process.
Repeat again as needed.
Recommended: Don't miss our amazing plum wine recipe next!
STEP FIVE – Bottling time!
The entire process from brewing, to fermentation, to bottling should take approximately six months. And there are no shortcuts. If you want a first class, dry raspberry wine, you need to take your time and allow the recipe to do its thing.
If you are reading this article three months after you picked your raspberries, I understand your impatience, but you’re just going to have to wait a little while longer. Why not amuse yourself by racking your wine another time?
When you are happy with the color and clarity of your wine, and there is no visible sediment left at the bottom of the demijohn, you can start to think about bottling.
Wait two months after the last racking, and then rack the wine one last time before pouring it into bottles.
You’ll be a veteran racker by now, so I don’t need to tell you how to do it but this time, once you’ve finished moving the wine in to a fresh demijohn, hold on to your siphon.
Line up your (sterilized) bottles on the ground, and use the siphon tube to release the wine from the demijohn, then very quickly pour the wine into each bottle in turn, all the way to the neck. Put a finger over the end of the siphon between each bottle, to avoid spillages (you may still need to put down a towel though).
Now all you have to do is cork and seal the bottles, and label them with the day’s date, and the ingredients (plus the name of your home vineyard, if you like).
Then comes the hard part…more waiting.
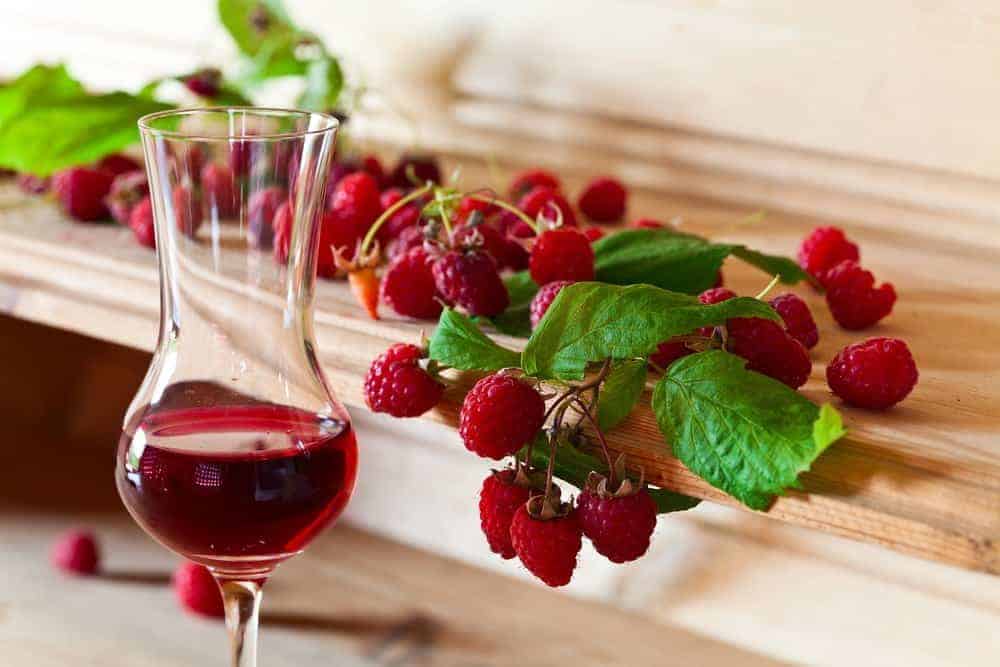
Because raspberry wine is best enjoyed dry, it takes a long time to mature – at least one year. You are going to have to use all your willpower here, and put those bottles out of sight and ideally out of reach until the following year. Make sure you store them in a cool, dark place without direct sunlight (as you don’t want the color to lighten at all during their year on the shelf).
When you finally get to pour yourself a generous glass of your homemade raspberry wine, 18 months will have passed since you went out and collected your raspberries, and you’ll probably have another batch of raspberry wine already fermenting away in a demijohn.
But once you taste that crisp, lively wine, you will forget all about all the waiting and the racking. This is probably my favorite fruit wine, and definitely one of the lesser-known ones. Not many wine-makers have the patience for this process, so you will appreciate the rewards even more.
Normally I’d suggest that you invite some friends over and share your batch with them, but this wine is different – this is a wine to be enjoyed by best friends on a balmy porch well into the night; or on a romantic evening with your one true love; or as a well-earned indulgence while you sit in your garden on a sunny afternoon, after a morning spent tending to your raspberry bushes.
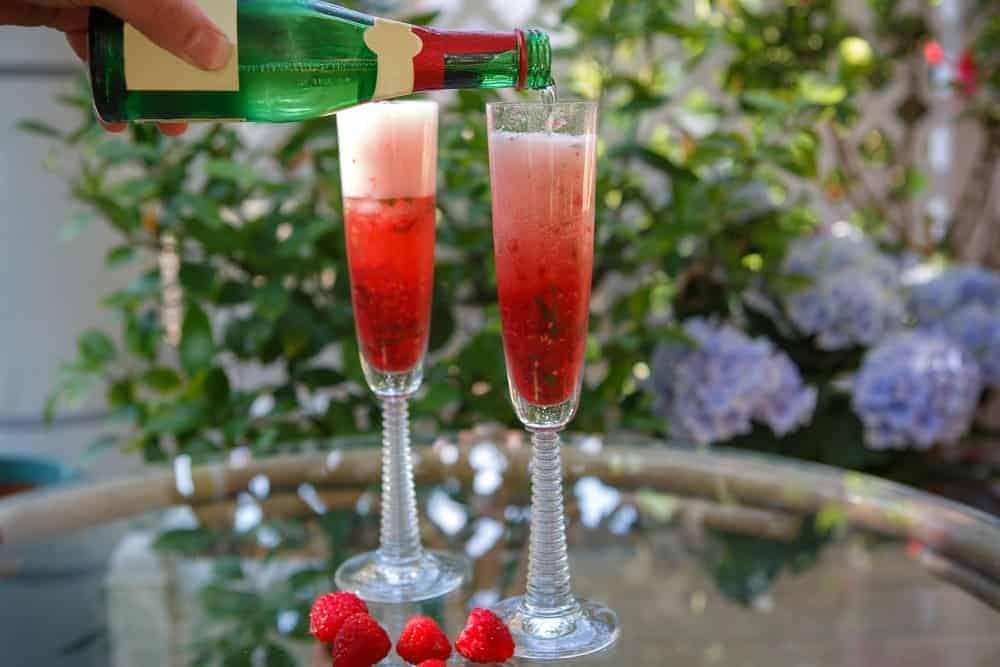
Raspberry wine pairs beautifully with peppery salads and gamey meats, as well as light cheese (goats cheese, ricotta, whipped feta) and sourdough bread. If you want to make your batch last longer, add a neutral mixer such as diet soda water or sparkling spring water, and make a spritzer. Or add to glasses of champagne for a grown-up Bellini, served with a couple of fresh raspberries of course.
Tell us how you are enjoying your raspberry wine, and if you managed to wait for the whole 18 months.
Conclusion
If you have more of a savory palate than a sweet tooth, this is the wine for you. You won’t find anything like it in any store, and by making your own raspberry wine from scratch, you will gain a whole new appreciation of the nuanced flavors, and the time it took to create this bright, light wine.
Trust me, you will be savoring every drop.
If you like your wine sweeter, have a look at one of our other fruit wine recipes (pineapple wine and honey wine are the polar opposites of raspberry wine), and if you want to try something else completely different, we have some great tips on how to make unusual and delicious wines out of everyday fruits, herbs and flowers.
You can share your own wine-making experiences in the comments below, and if you enjoyed this article (and the wine that it helped produce), feel free to share it with your nearest and dearest. At least then they’ll understand why you’ve been staring at row of wine bottles in a dark room for the past 12 months…
I’ve read through this recipe several times and I don’t see when the campden tablet is added. Can you let me know?
Hi Claire, sorry about that! You actually add them when you rack off your wine to the second demijohn. Hope that makes sense!
I can’t wait to start my own batch of raspberry wine.
I do want to ask about the first step with the yeast starter and citric acid.
I never use any starters for my wines (mostly grape). Can I skip this part and add the yeast and start to let it ferment and then follow the recipe as written?
Would really like to know.
Hi, I’m about to make this – thanks for the recipe – but can I just check about making the extra wine from the mush – so I should use 0.56kg sugar and just half a gallon of water (for half a gallon of wine) I presume? Thanks, Nicola
Your recipe inspired me to to order a wine making kit and give it a try. However, I ordered a kit that comes with a 6 gallon plastic carboy. I’m not very good at ordering online. My first wine making experience was with a recipe for Dandelion Wine and no equipment (other than what is normally in my kitchen) and I accidentally ordered sparkling wine yeast! I’ll let you know how that comes out.
I have about 8-10lbs of fresh picked raspberries in my freezer. I know I will have to modify the recipe if I am using all of the fruit, but I’m afraid I will need to add too much water to fill the larger carboy. Do you recommend that I buy a couple 1-gallon carboys or is there some way I can make this work with what I have?
Hi. No pectin or yeast nutrient?
Hi I enjoyed reading your recipe. Looking forward to try it out.
Retired chemistry teacher, just learning how to begin one making
What's the point of the fermentation bucket? Couldn't that first fermentation phase be done in an airlocked demijohn?
Hi Henry,
You could use a demijohn yes. It’s just a bit trickier getting everything inside and stirring it well. Also, if you were to airlock it you would need to be careful to leave enough headroom. Carbon dioxide gas is released during fermentation and you want top leave sufficient airspace for it or leave a gap.
You will also need to transfer it into another container after straining.
Cheers,
Jamie